


Whether you’re a homeowner or a business owner, you know the importance of reliable security.Hasps are a popular and affordable option for simple security needs, and DIY installation is a manageable project.
In this guide, we cover why a hasp is a valuable security feature—specifically iron hasps—and how to install them correctly.
Why Purchase an Iron Hasp?

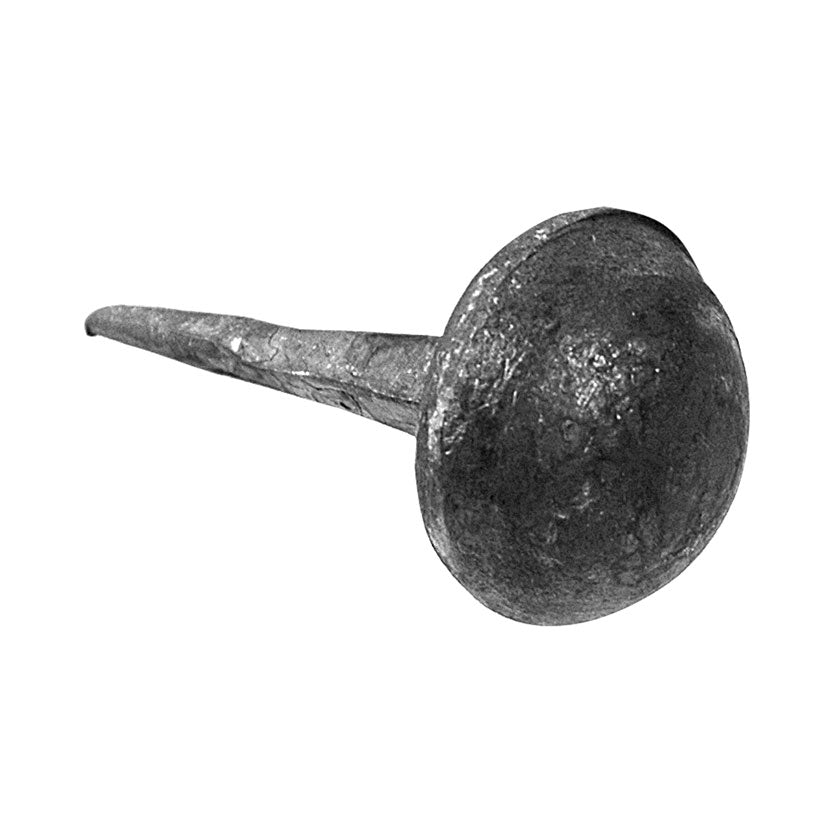
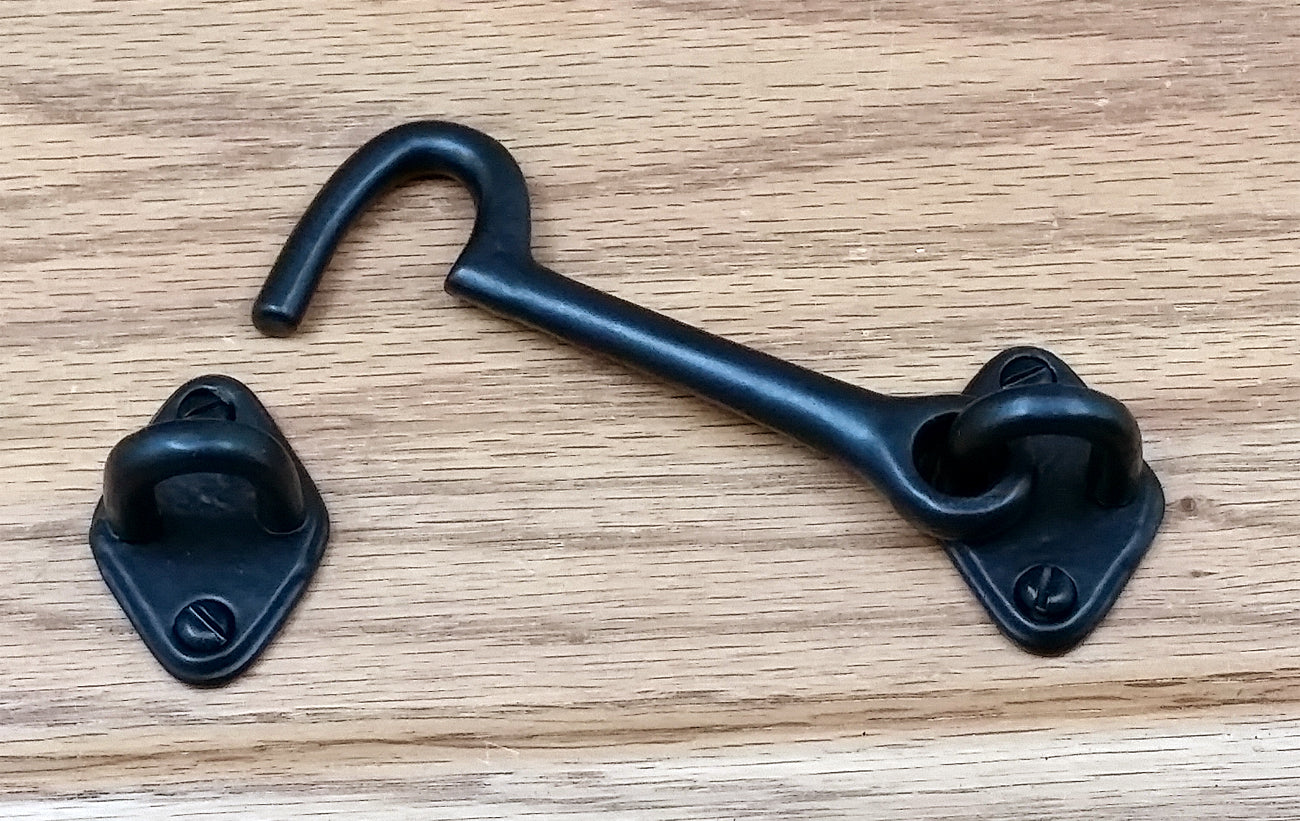
Iron is a naturally strong and durable material, which is essential forsecurity hardware like hasps. Iron hasps can withstand abrupt or forceful closing and are generally resistant to scratches and other forms of wear and tear. Consider pairing an iron hasp with a stainless steel padlock for optimal security.
Install a Hasp in 7 Simple Steps
Step 1: Gather Tools
- Hasp
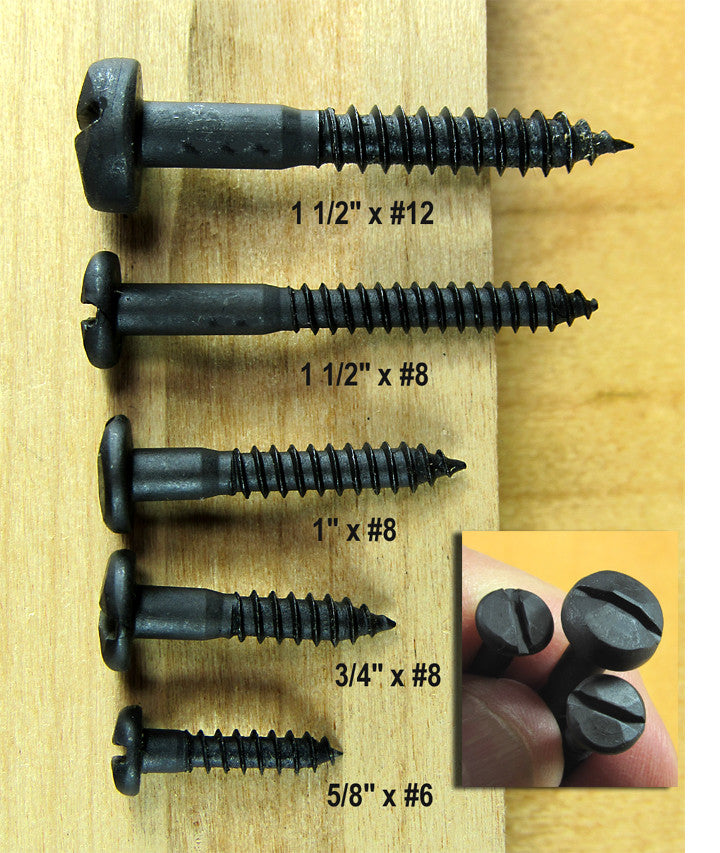
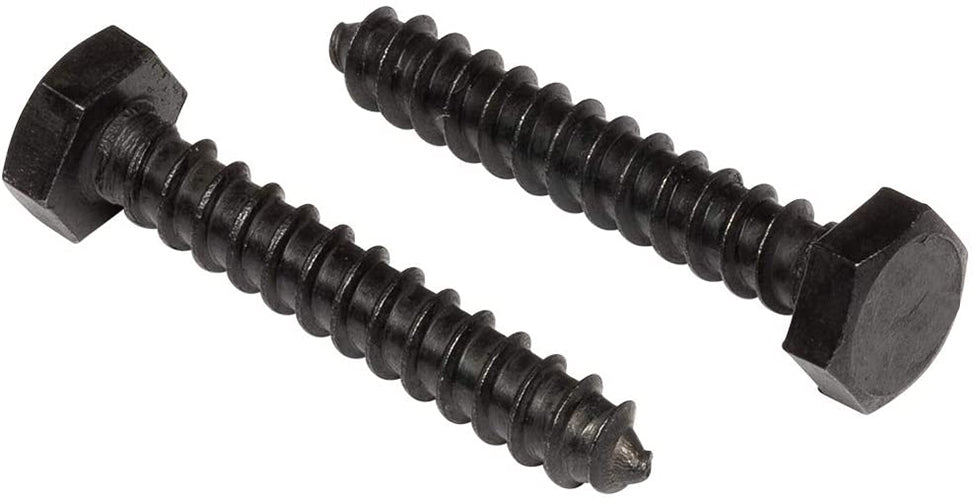
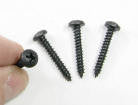
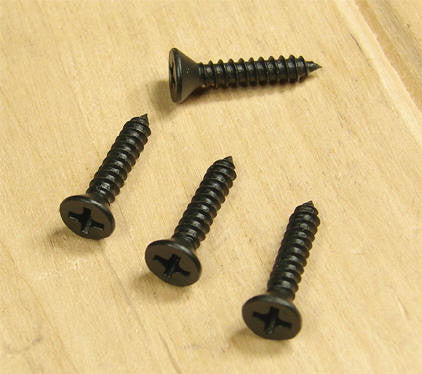
- Screws
- Pencil
- Measuring tape
- Drill and drill bits
- Screwdriver (optional)
- Level
- Safety goggles

Step 2: Determine the Hasp Position

Clean the surface where you will install the hasp. Then, hold the hasp against the door or gate in the desired location.
Use the measuring tape to ensure the hasp is centered. It should align with the strike plate or the area where the staple will be installed on the door frame or adjoining surface.
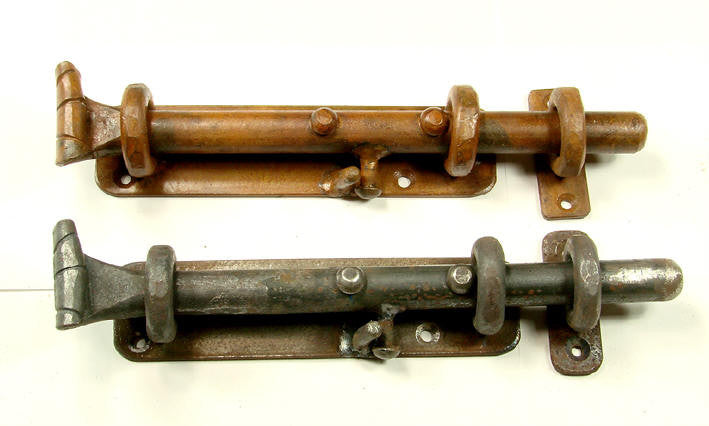
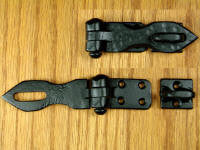
Note: The staple is the loop part of the hasp.
Step 3: Mark the Screw Holes
Use a pencil to mark the screw hole positions on the hasp and the staple. Double-check that the hasp is level and properly aligned before proceeding to the next step.
Step 4: Drill Pilot Holes
For this step, you will need a drill bit that is just smaller than thescrews. Attach the bit and drill pilot holes at the marked locations.

Pilot holes make it easier for you to drive the screws into place and prevent the wood from splitting in the process.
Step 5: Attach the Hasp
Position the hasp over the pilot holes and use a screwdriver or drill to drive the screws into place. The hasp will not wobble or shift if properly attached.
Step 6: Attach the Staple

Align the staple with the hasp and close the hasp to confirm a snug fit. Then, open the hasp and drive the screws through the staple, securing it to the door frame or adjoining surface.
Step 7: Test the Hasp and Make Final Adjustments
Close the hasp again to ensure it still aligns with the staple. If you are also using a padlock, check that it can be opened and removed easily.
If the hasp doesn’t align perfectly or feels loose, tighten the screws. If it still doesn’t feel right, you may need to remove and reinstall the hasp and staple.


