


Decorative brackets are a structural necessity for wood beams and a delightful aesthetic addition to any living space. They blend functionality and design, ensuring the beams are securely fastened and enhancing the area's visual appeal. This guide will walk you through a simple step-by-step process to install decorative brackets for wood beams.
What are Decorative Brackets?

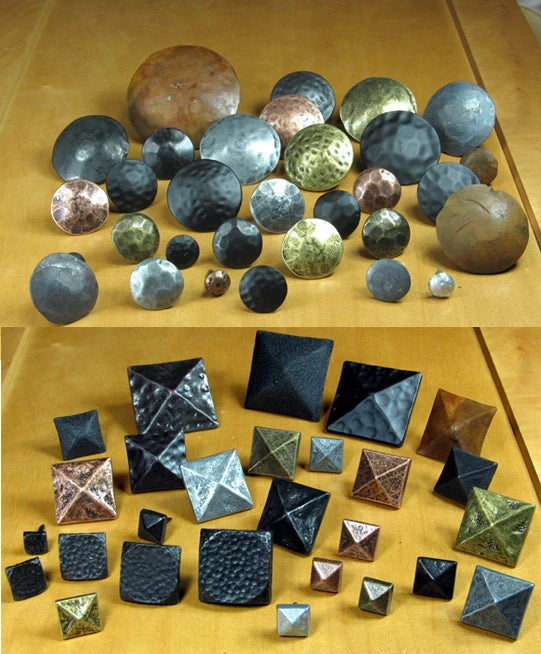
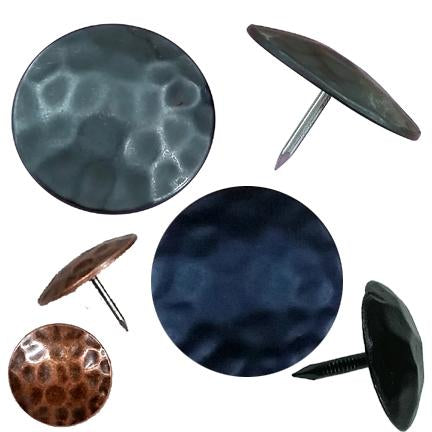
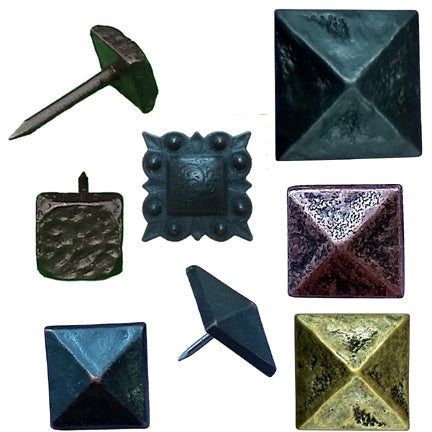
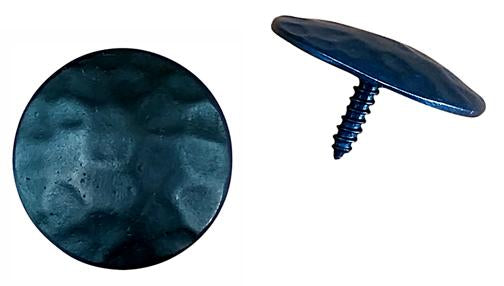
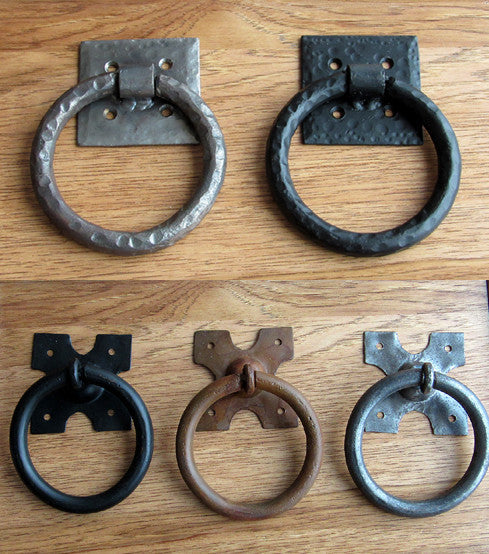
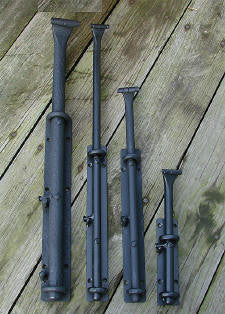
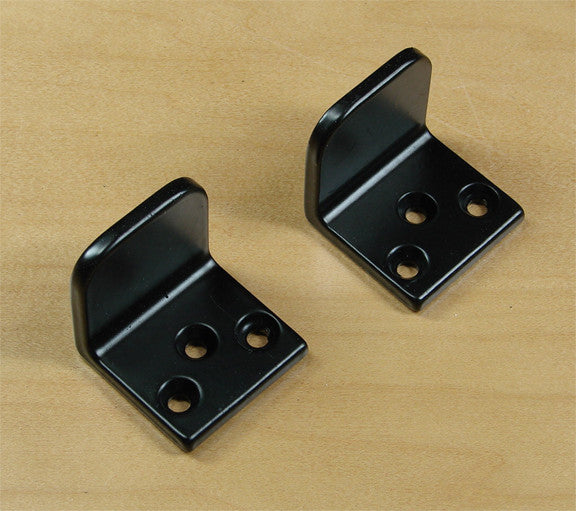
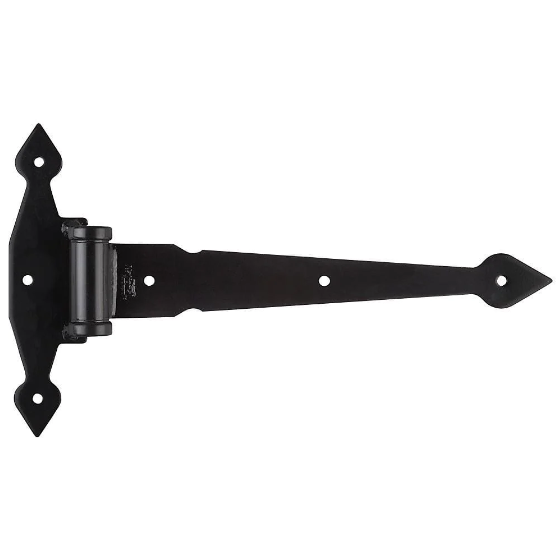
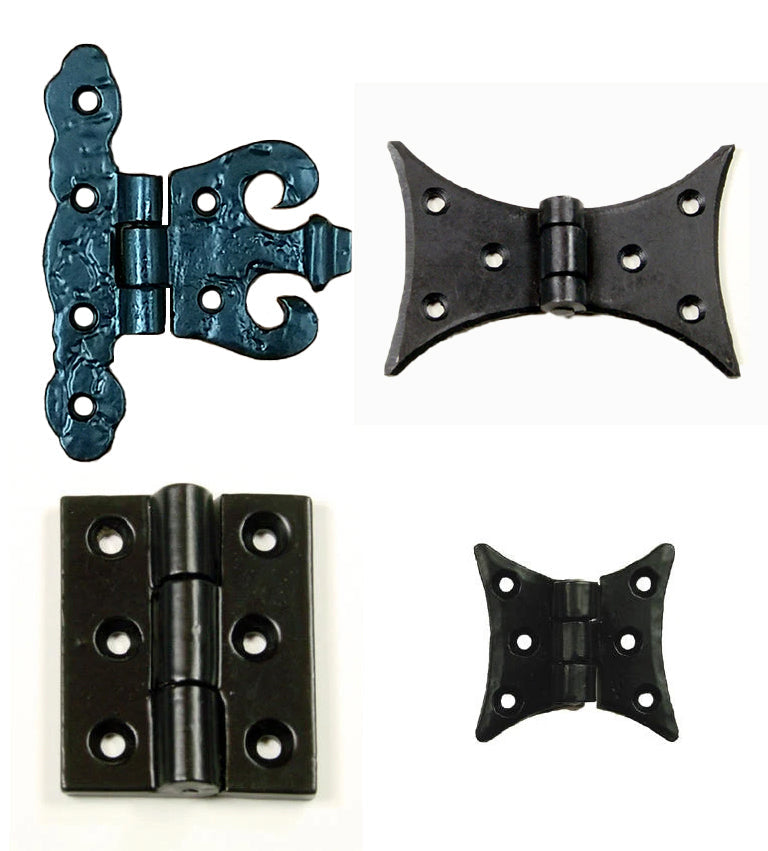
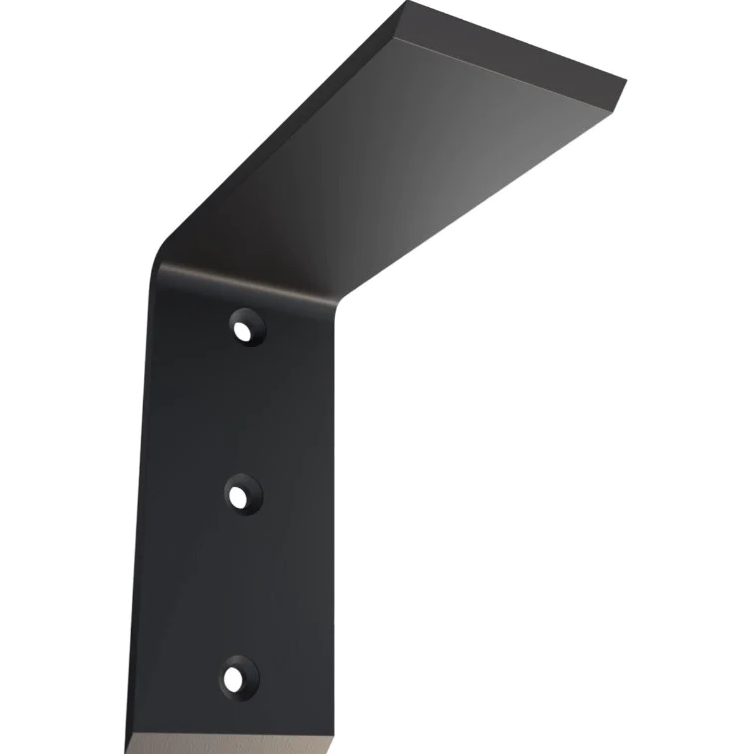
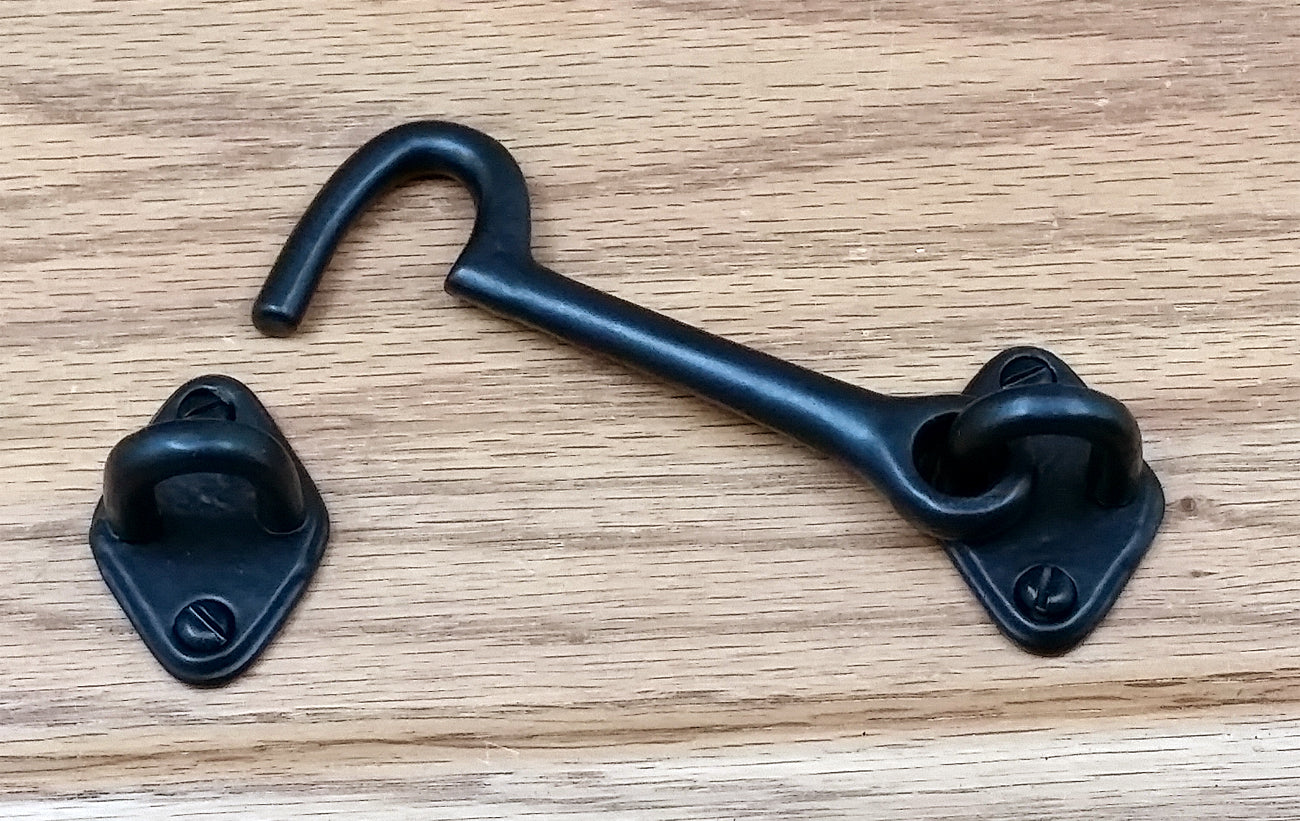
Decorative brackets are supportive structures that also serve an aesthetic purpose. They can be crafted from various materials, such as wood, metal, or plastic, and come in many designs to complement different architectural styles.
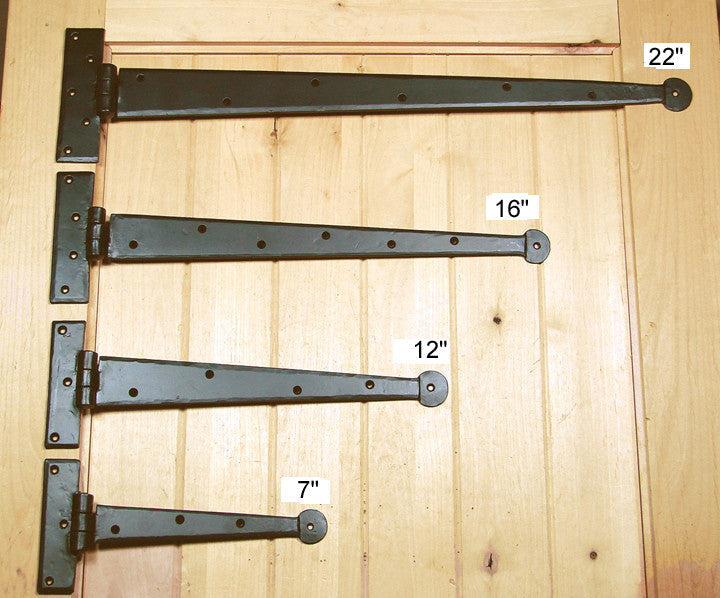
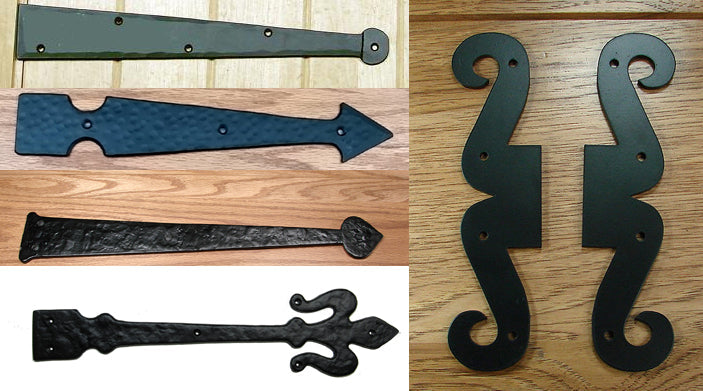
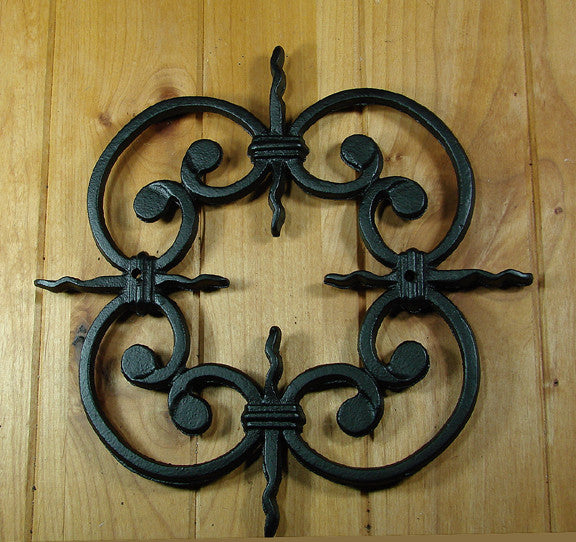
Types and Styles:From classic to contemporary, decorative brackets are available in numerous styles and shapes. Whether you prefer a minimalist approach or a more ornate design, there’s a bracket-style to suit your décor.
Material and Size Selection: Choosing a suitable material and size is crucial for both the durability and aesthetic of the brackets. Consider the weight and dimensions of the wood beams, as well as the overall design theme of your space, when making your selection.
Pre-Installation Steps
Tools and Materials

Equip yourself with the necessary tools and materials before commencing the installation.You need:
- Decorative brackets
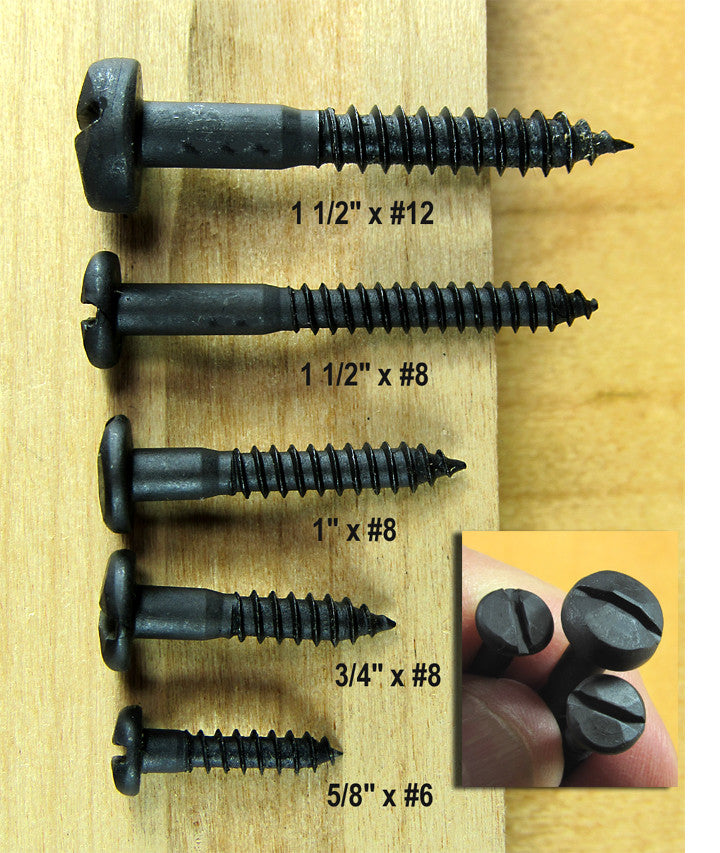
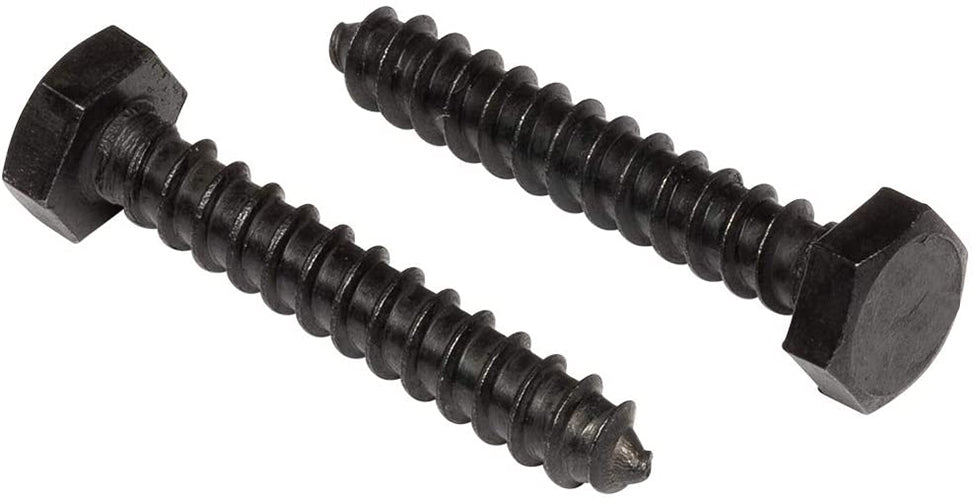
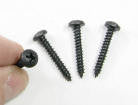
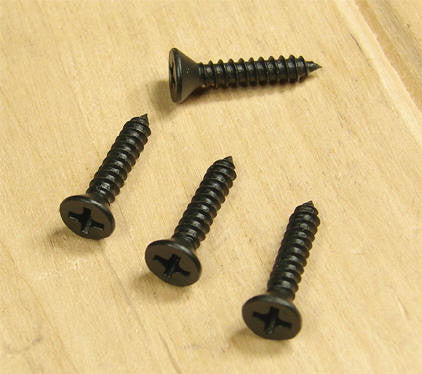
- Screws or bolts
- Drill and drill bits
- Level
- Measuring tape
- Pencil for marking
Pro Tip:
Always prioritize safety. Wear protective gloves and safety goggles, and work in a well-lit area without obstacles.
Steps for Installing Decorative Brackets for Wood Beams
Step 1: Preparing the Wood Beams
First, clean and smooth the wood beams, removing debris or protruding nails. Verify the structural integrity of the beams to ensure they can support the brackets and any additional load.
Step 2: Measuring and Marking

Accurate measurements are key to a successful installation. Measure and mark the exact points where the brackets will be installed on the wood beams, checking that they are evenly spaced and symmetrical.
Step 3: Positioning the Brackets
Align the brackets with the previously marked points. Use a level to confirm they are perfectly horizontal.
Step 4: Securing the Brackets
Drill pilot holes at the marked points and attach the brackets using suitable screws or bolts. Make sure they are tightly fastened and do not wobble.
Step 5: Checking Stability and Alignment
Once installed, check the brackets' stability and that they are aligned correctly. Make any necessary adjustments to get a secure fit.
Step 6: Final Touches
Consider painting or staining the brackets to match or contrast with your wood beams. Add decorative elements like carvings or decals to enhance their appearance.

Post-Installation Care and Maintenance
Cleaning and Dusting: Regularly dust and clean the brackets to maintain their appearance and prevent the build-up of dirt and debris.
Stability Checks: Periodically check the stability of the brackets, ensuring they remain securely attached to the beams and that there are no signs of wear or damage.
Repairs and Replacement: In case of any damage or wear, undertake necessary repairs promptly or replace the bracket for continued structural support and aesthetic appeal.
Final Words
Installing decorative brackets for wood beams can significantly enhance your space's aesthetic and structural integrity.
You can securely install visually pleasing and highly functional beam supports withdecorative brackets from Wild West Hardware and this step-by-step guide.


