The following instructions are only a guide to help you understand the basic installation. All thumb gate latch installations will differ slightly

- Mount the handle on the hall side of the door.
- Mount the latch bar on the room side of the door.
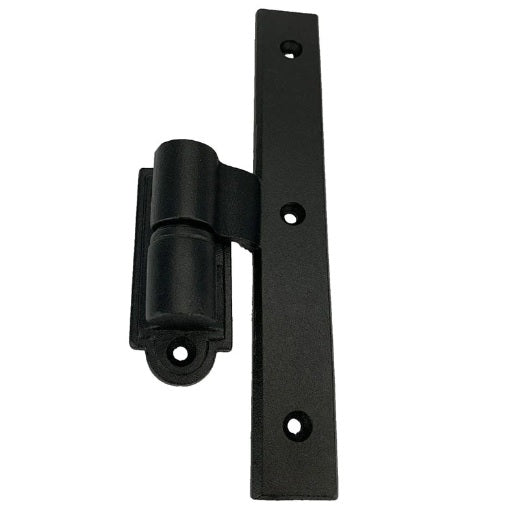
- Mount the keeper to the door casing (door jamb).
- Cut a small slot for the thumb-piece to pass through just enough to lift the latch bar (around ½”). Slide the thumb--piece through the slot you and make sure it moves freely.
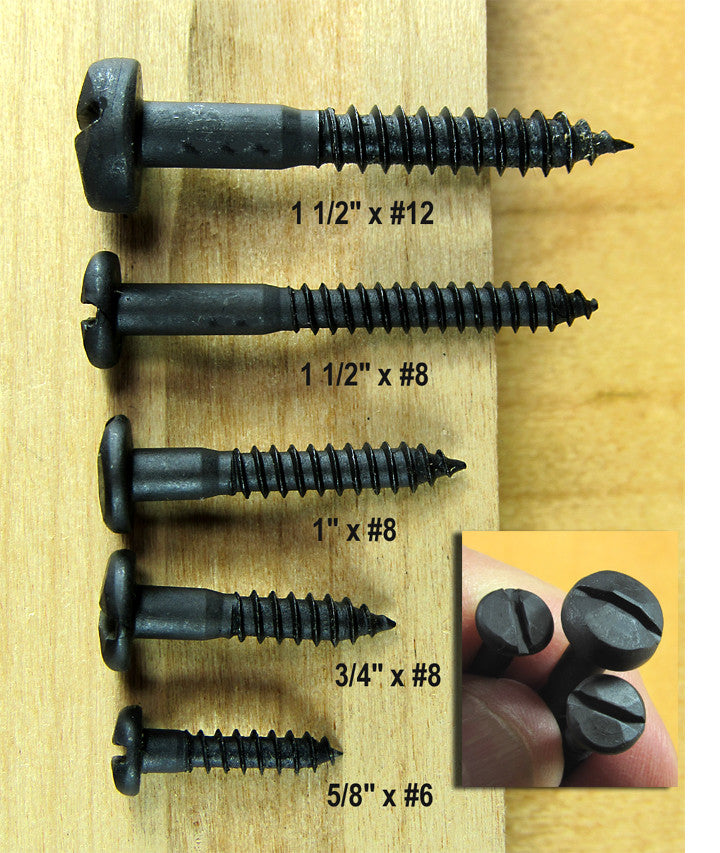
- Mark the holes for mounting the handle with a pencil. Pre-drill so you don't split the wood.
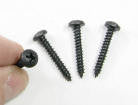
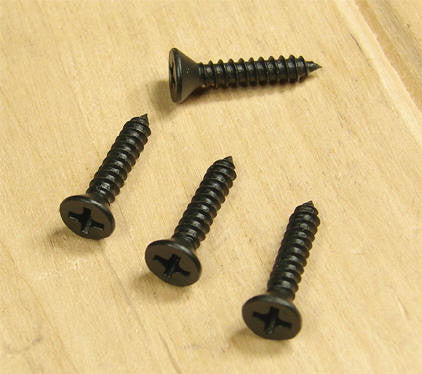
- Attach the handle to the door using the six wood screws provided. Make sure the thumb-piece still operates freely.
- Position the latch bar so it is resting on top of the thumb-piece protruding from the door.
Note: Make sure the latch bar is sitting level.
- Attach bar to door with wood screw.
- Mark position for staple about half way between thumb-piece and end of bar.
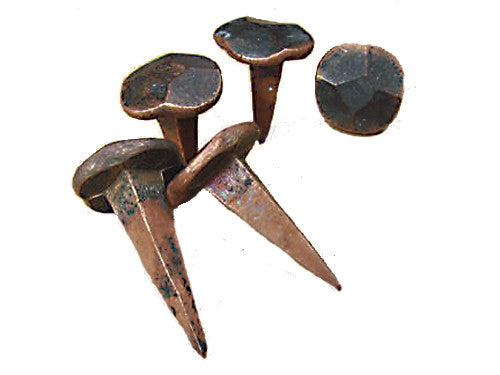
- Pre-drill holes for staple.
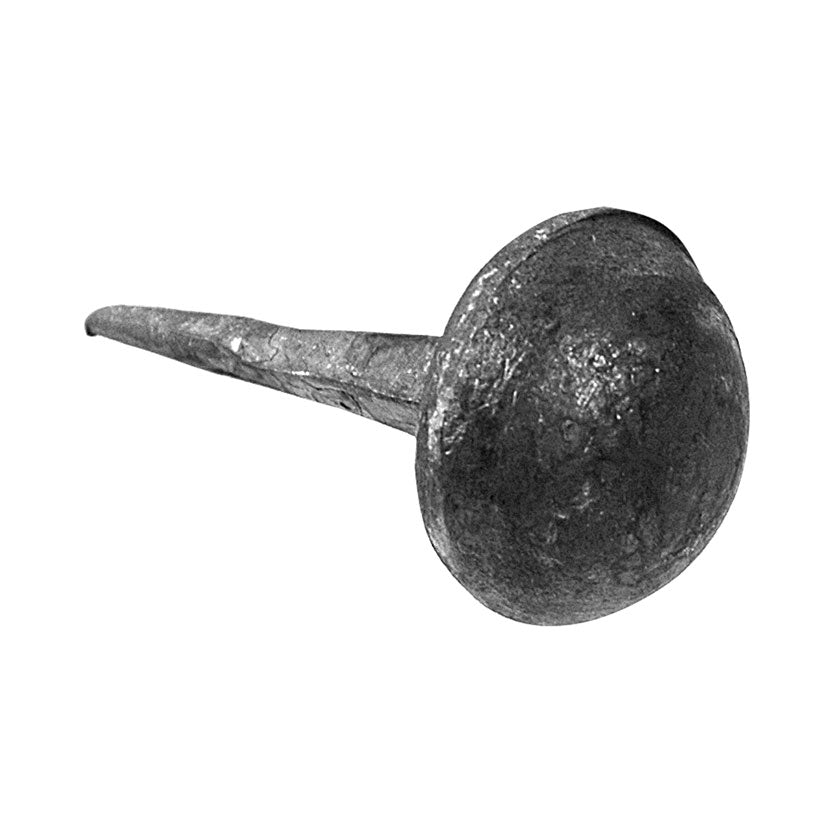
- Hammer staple into door making sure that the latch bar will still move up and down freely.
Note : Ensure that you do not scratch the paint on keeper by wrapping an old tower or piece of heavy cloth around a block of wood.
- Raise the latch bar
- Position the keeper on the door casing so the latch bar just clears the top of the keeper. Mark with pencil.
- Pre-drill a hole to avoid splitting of wood.
- Carefully hammer the keeper into the door casing using a block of wood so you don't mark the paint. Also attach the keeper to door casing with a wood screw.
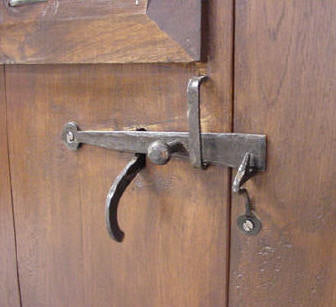
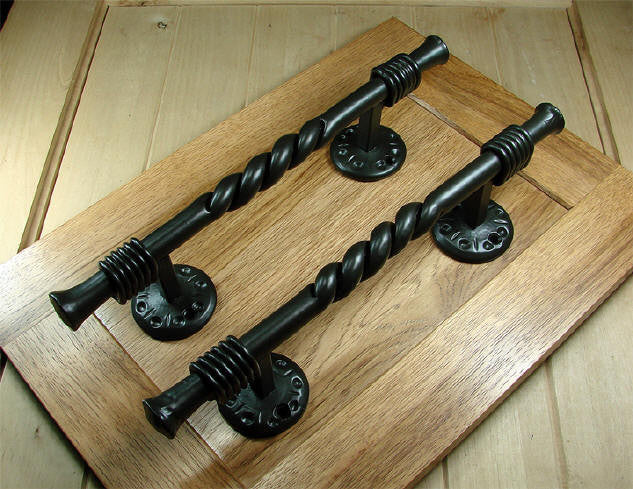
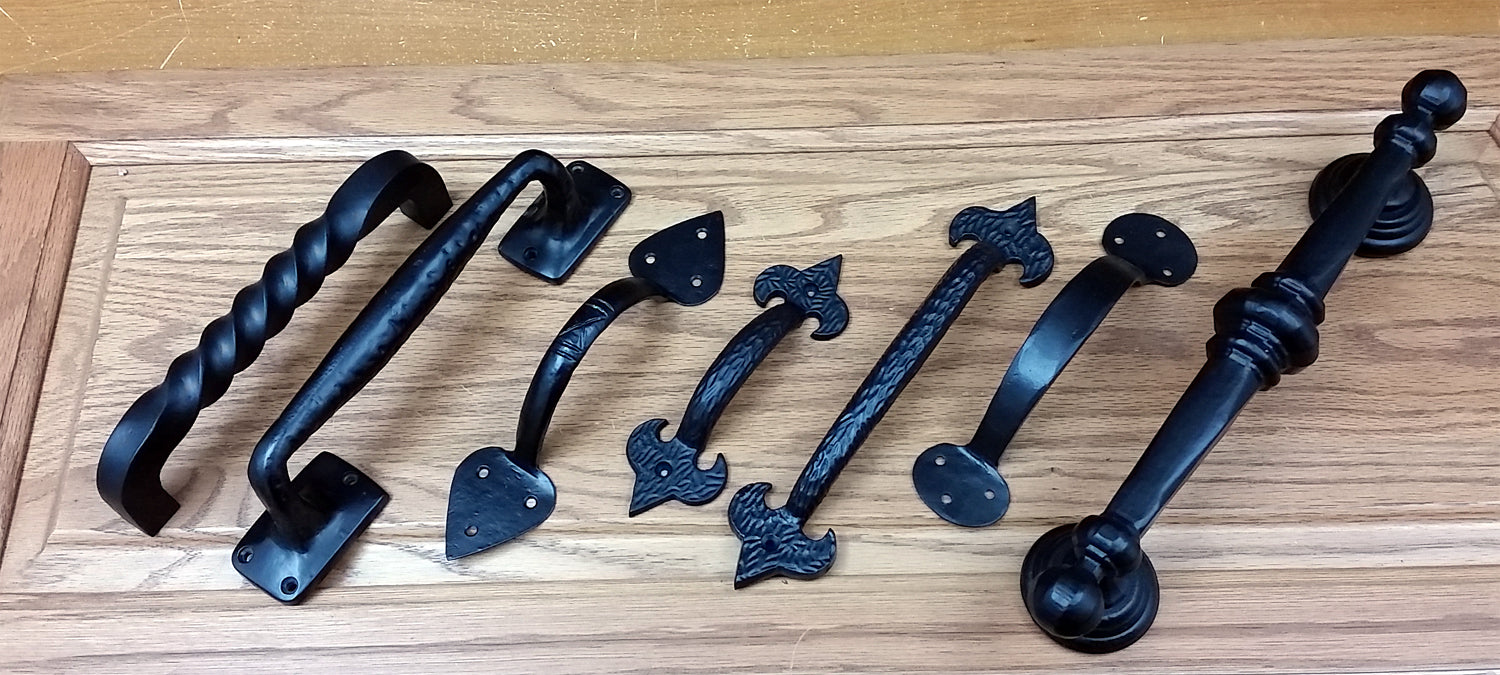
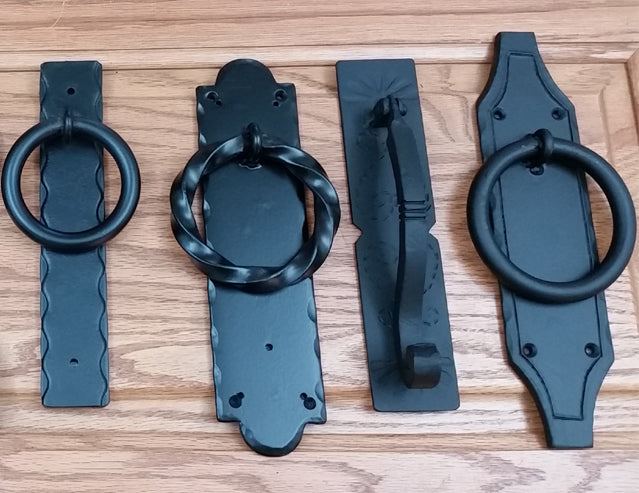
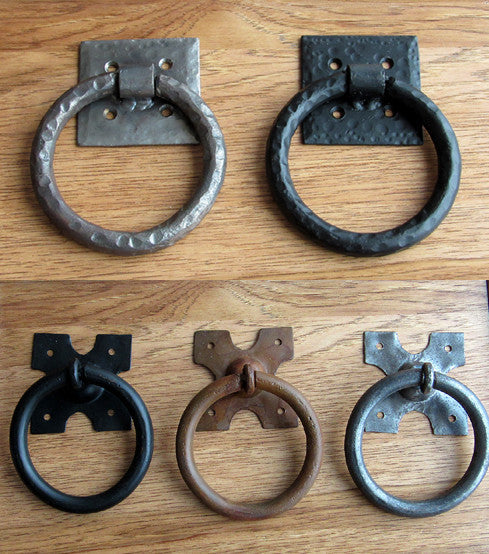
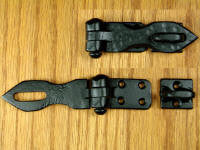
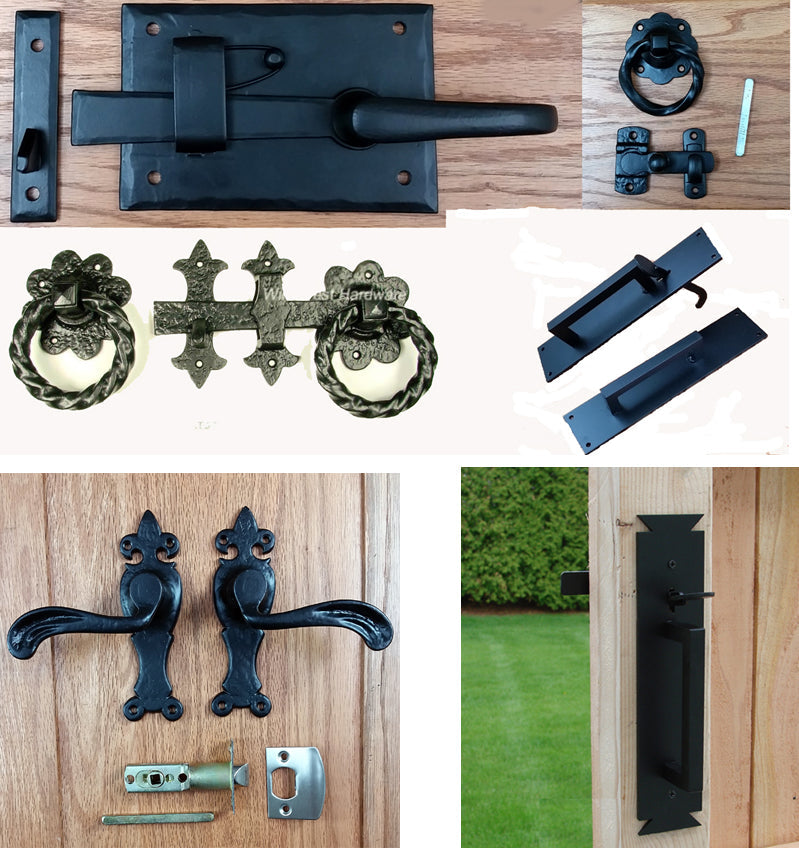
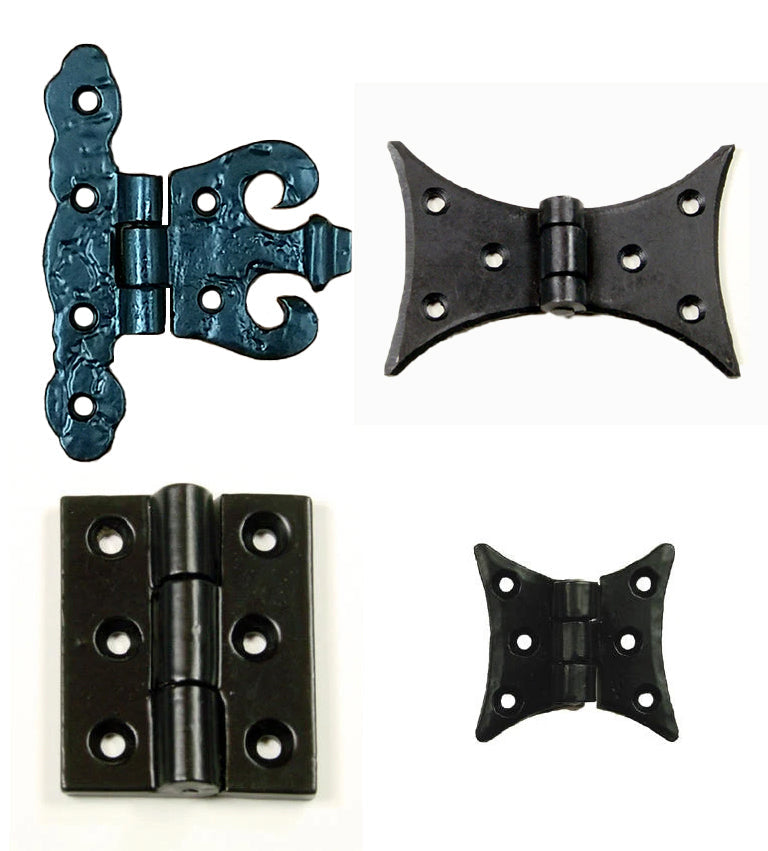
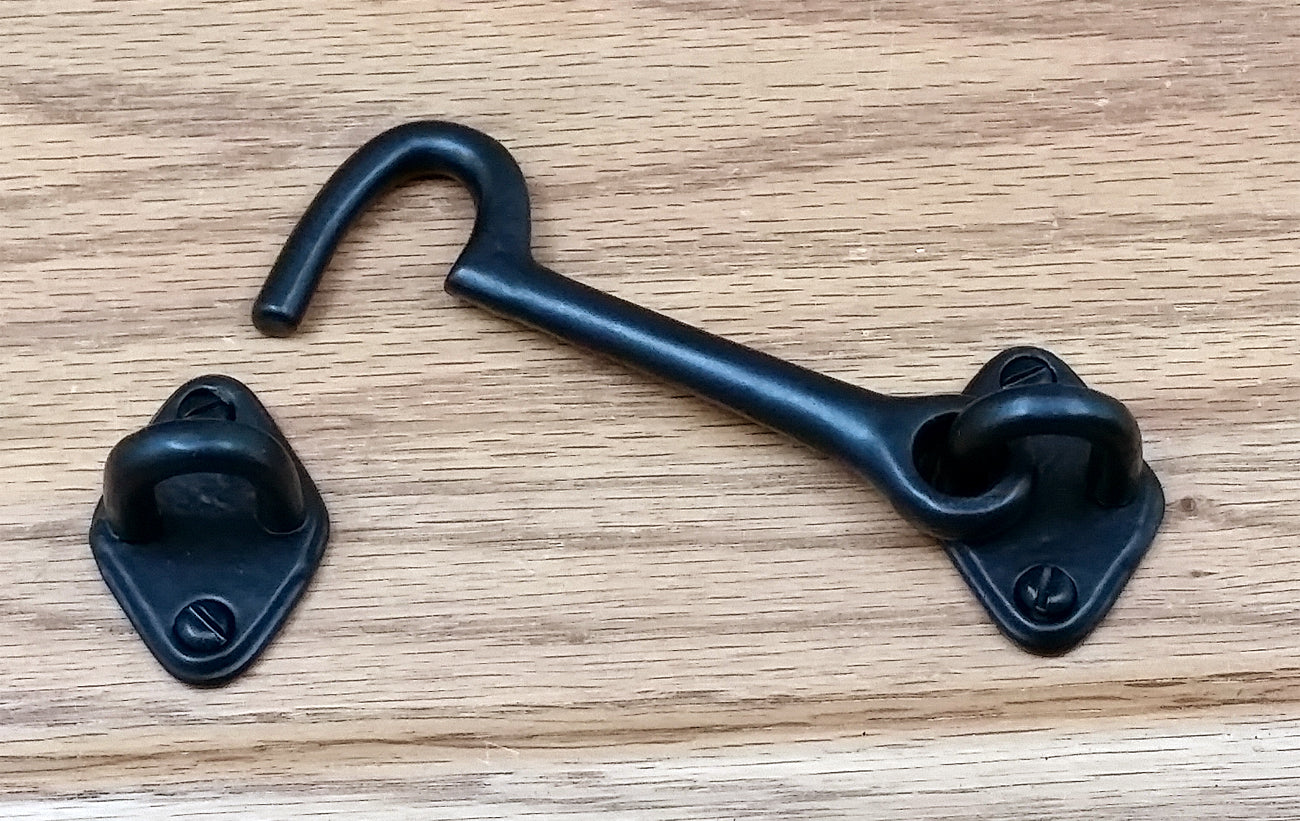
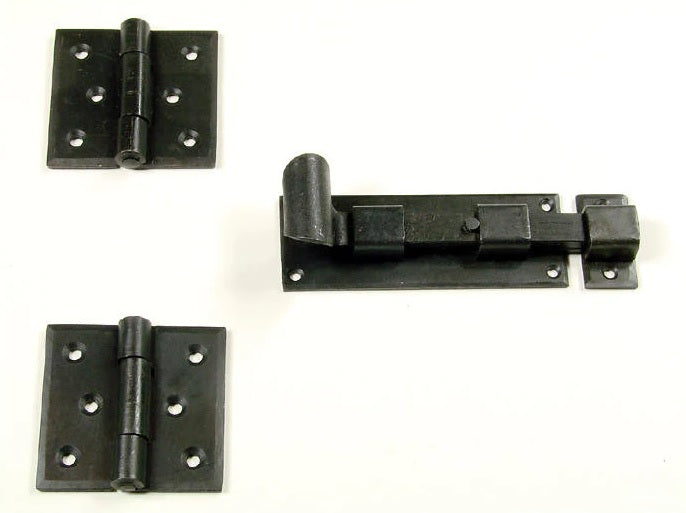
PARTS OF A TYPICAL THUMB LATCH SET:

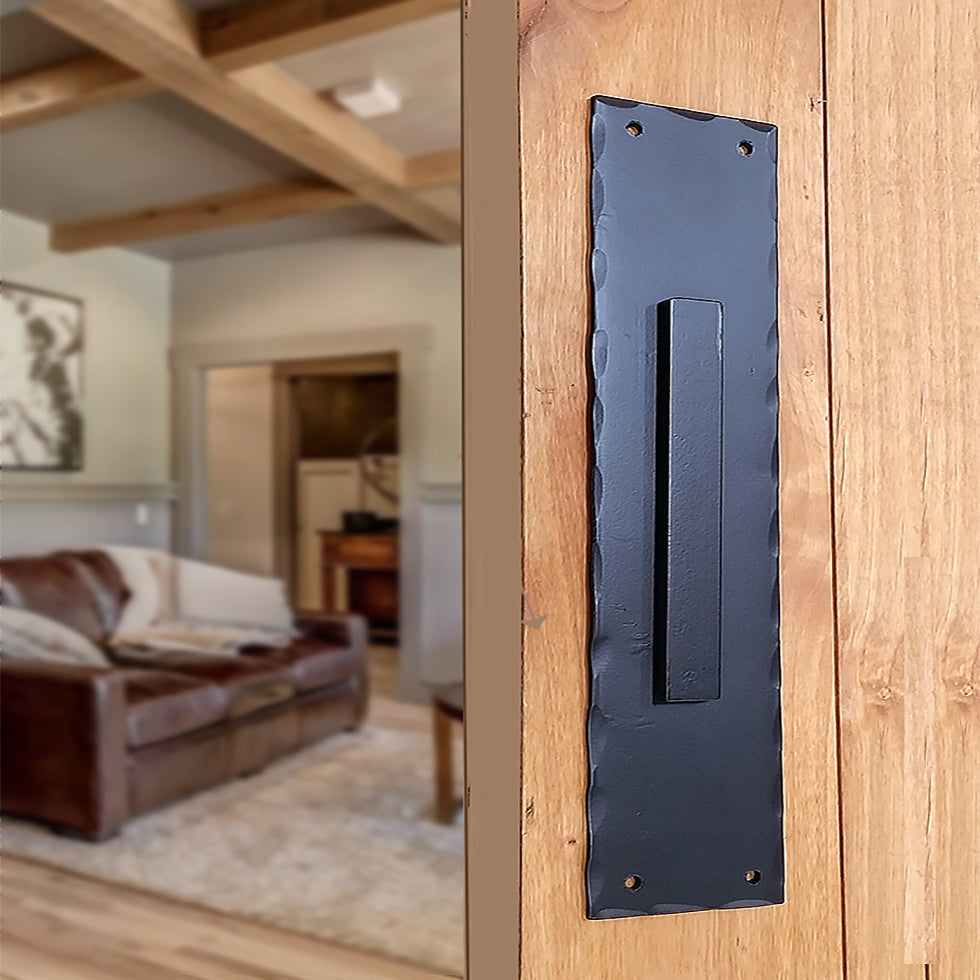
Thumb Latch Set Installed: