


Corner brackets are one of the simplest and most effective ways to add strength and stability to shelves, furniture, and home projects—and you don’t need the help of a seasoned professional to install them. With their classic L-shaped design, they prevent joints from shifting, support heavy weights, and extend the lifespan of your DIY builds.
Now, let’s explore a few types of corner brackets and learn how to properly install them to guarantee durability and visual cohesion.
Corner Brackets Installation Tips
Before we dive fully into the installation steps, here are a few tips to remember to get the most out of your corner brackets.
-
Wall studs are key. Always attach brackets to wall studs when possible. Most studs are 16 inches apart.
-
Use the long side against the wall. Since one surface of the L-shaped bracket is longer, mount that side to the wall for maximum stability.
-
Match spacing to load. For heavy loads, space brackets at 16 inches apart. For lighter shelves, you can extend up to 32 inches. Overhanging edges should have closer support, around 8 inches.
-
Avoid weak surfaces. Brackets fastened only to plaster or drywall (without studs) are more likely to pull out.
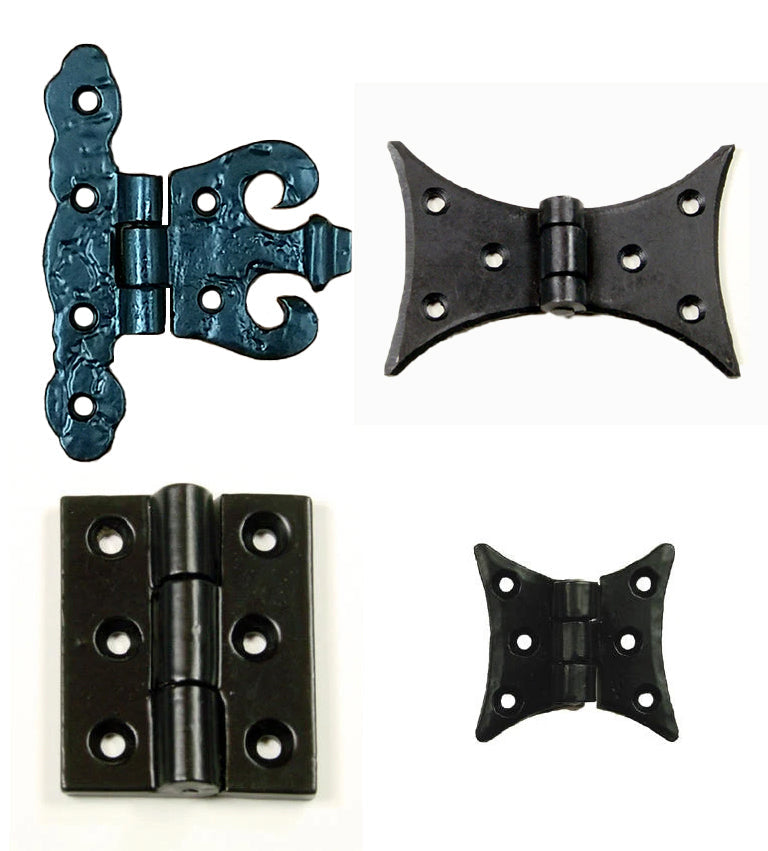
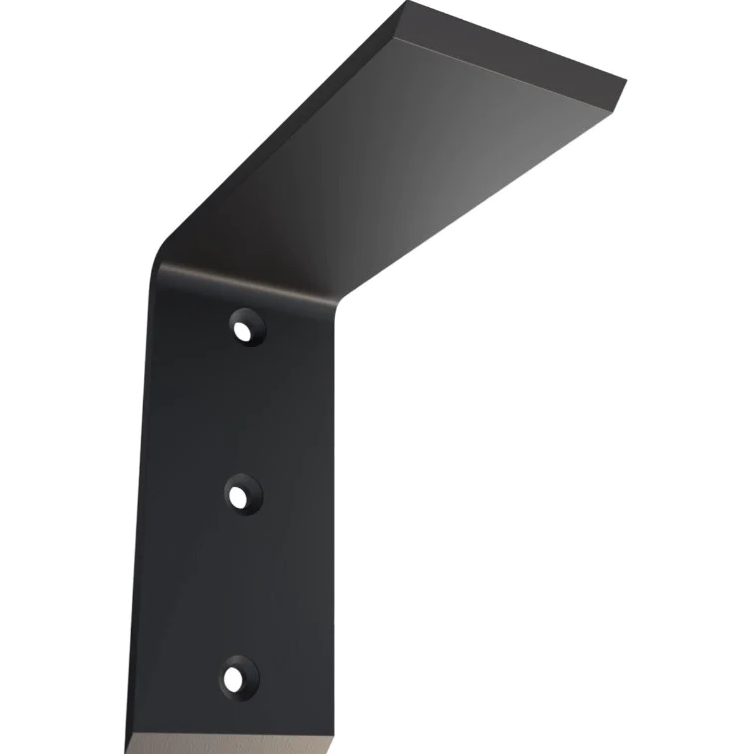
Types of Corner Brackets
Corner brackets come in several styles to meet different needs, including:
-
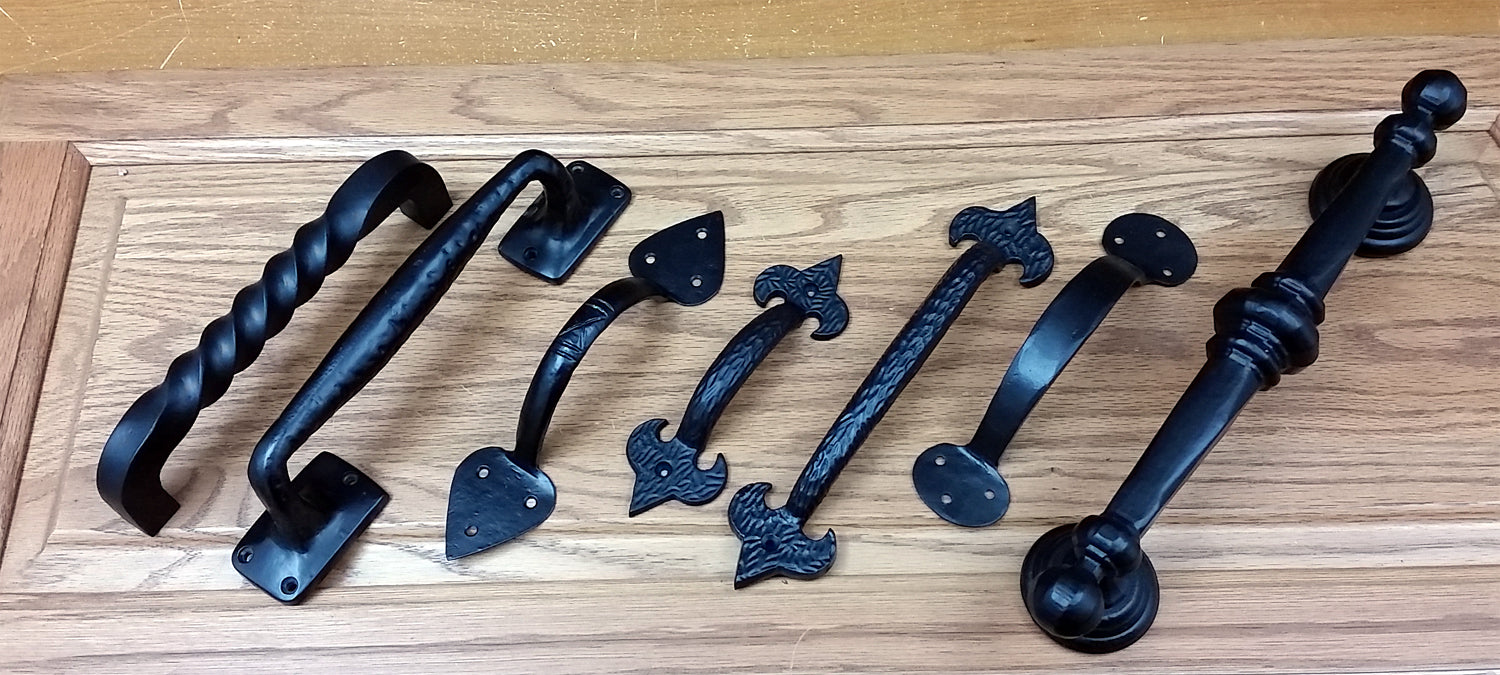
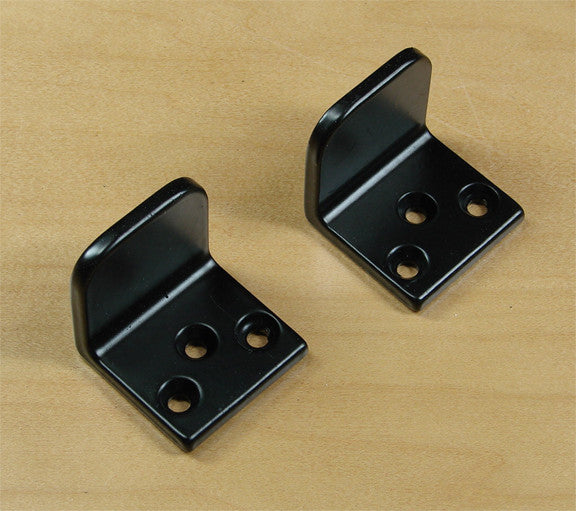
Flat Corner Brackets: Simple, flat L-shaped supports commonly used for reinforcing furniture joints.
-
Heavy-Duty Corner Brackets: Made from thicker steel or iron, these are ideal for projects that requireholding more weight.
-
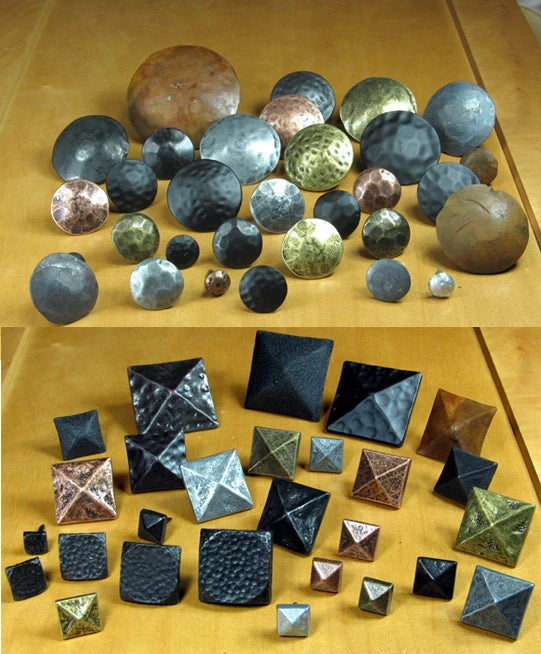
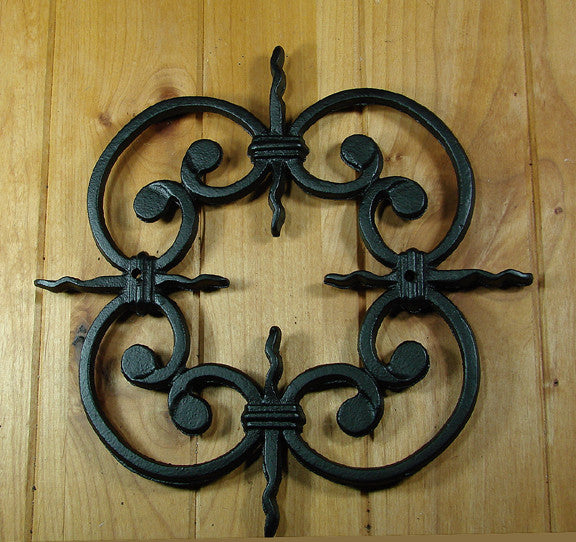
Decorative Corner Brackets: Functional but designed with scrolls, patterns, or finishes that enhance your décor.
-
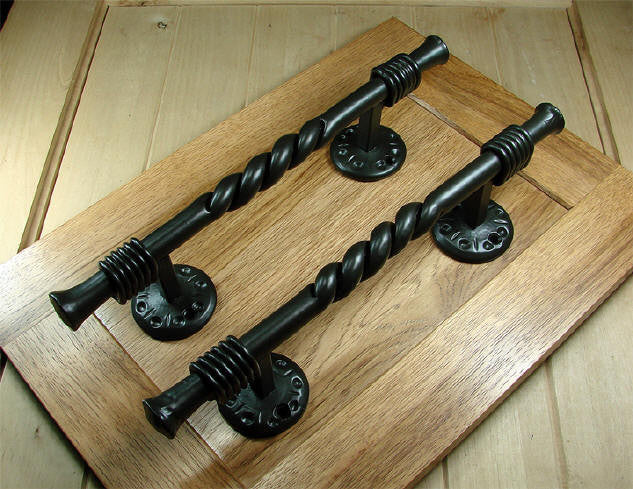
Rustic Corner Brackets: Often made of iron with an aged or antique finish. The material adds strength, but this style is also often chosen specifically for its rustic appearance and vintage appeal.
Choosing the right type depends on your project—whether you want subtle support, heavy-duty reinforcement, or a decorative statement piece.
How to Install Corner Brackets
Step 1: Gather Your Tools

As your first step, use the following tool checklist to ensure you have all the necessary items for easy installation.
Tool Checklist:
-
Corner brackets (choose the right size and style)
-
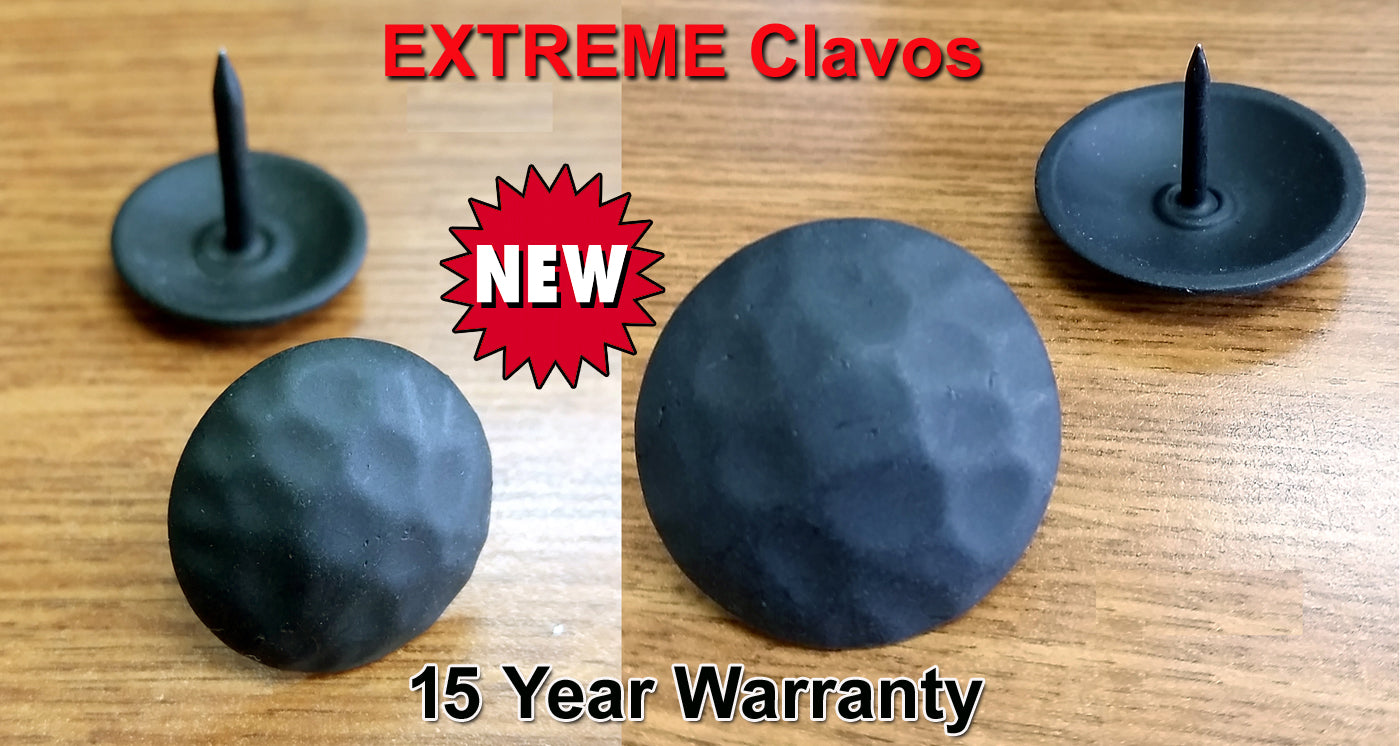
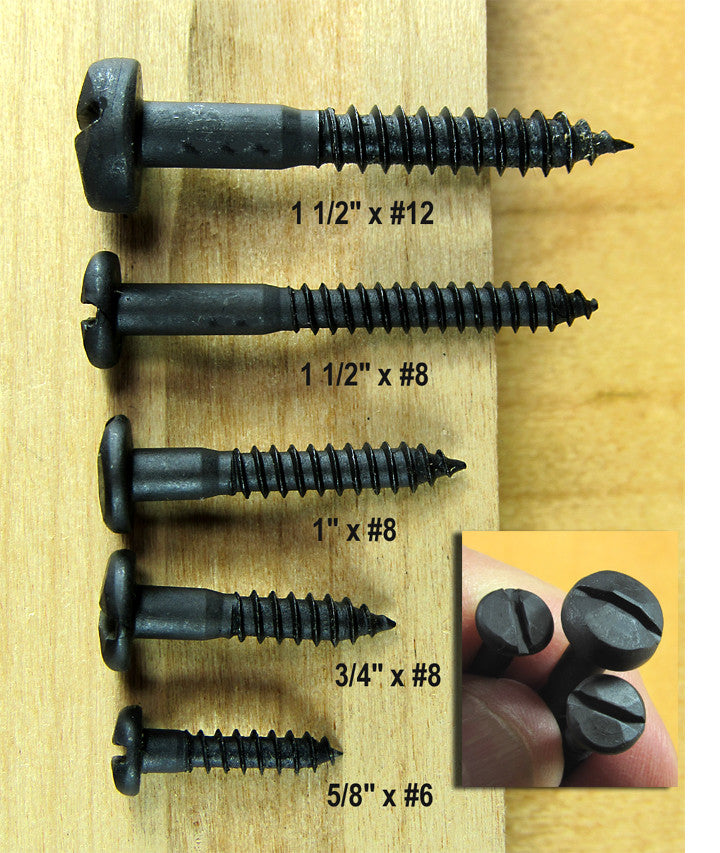
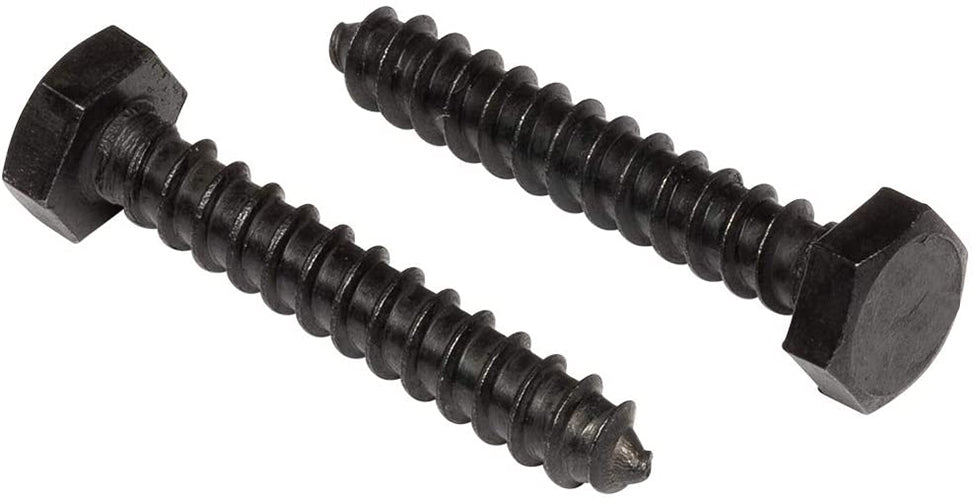
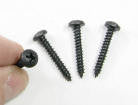
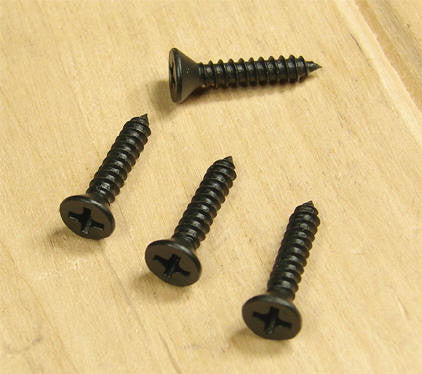
Screws (wood or masonry, depending on surface)
-
Drill with drill bits
-
Screwdriver
-
Level
-
Pencil for marking
-
Wall anchors (if studs aren’t available)
Step 2: Position the Corner Brackets
Start by deciding where you will place your brackets. If you’re working on shelves, this means aligning the brackets so the shelf sits level and symmetrical with the wall. Use a level or combination square to get precise alignment.
-
Mark the screw holes through the bracket onto the wall.
-
Drill pilot holes slightly smaller than the screw diameter.
-
Hold the bracket in place and secure it tightly with screws.
Step 3: Attach the Brackets to the Shelf
Once the brackets are mounted to the wall, position your shelf on top of them.
-
Mark the spots where the bracket arms meet the underside of the shelf.
-
Drill small pilot holes in the marked spots.
-
Drive screws through the bracket holes into the shelf to secure it firmly in place.
Step 4: Secure the Shelf to the Wall
With one bracket already attached, check that the shelf is level. Then:
-
Install the second bracket on the opposite side.
-
Secure the shelf to the second bracket.
-
Double-check that everything is aligned and tightened.
This simple step ensures that the shelf is fully supported and ready to hold weight.
Final Thoughts
With the right type of bracket, proper installation, and an understanding of weight capacity, you can use your DIY skills to create shelves, reinforce furniture, and add decorative flair that lasts for years.
If you’re looking to make more DIY upgrades,shop our full collection of hardware for all your project needs.
FAQs About Corner Brackets
1. Are corner brackets better than screws?
Yes, corner brackets are generally better than screws. Screws can hold materials together, but corner brackets add stability that screws can’t provide on their own. Brackets distribute weight across a wider surface, preventing joints from shifting and making them stronger and more reliable for long-term use.
2. What is the difference between corner brackets and angle brackets?
The difference between corner brackets and angle brackets is their uses and specific shapes. Corner brackets can come in a variety of decorative or functional designs and are often used to reinforce or support corners in furniture, shelves, or framing. Angle brackets, on the other hand, almost always form a precise 90-degree angle. This makes them especially useful in construction and carpentry projects where accuracy and uniformity are critical, such as framing or joining materials at a perfect right angle.


