


Installing sliding barn door hardware is a manageable DIY project when the right steps are followed in the correct order. In this guide, you’ll find straightforward installation instructions to get your barn door up and operating in no time.
What Are the Different Types of Sliding Barn Door Hardware?

Top-Mounted Track Systems
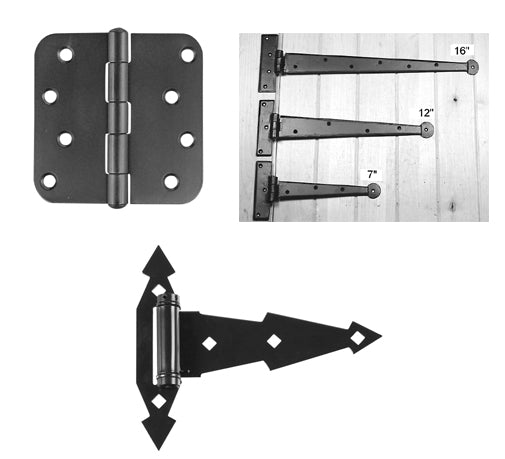
Top-mounted tracks are the most common type of sliding barn door kits. They include a metal track (rail), rollers or hangers, and stops.
The rail is mounted above the doorway, rollers or hangers attached to the door, and stops prevent the door from sliding off the track.
Double Track Systems
Double-track hardware is designed for wider doorways, closet spaces, or paired barn doors. This system allows two doors to slide in opposite directions.
Concealed Track Systems
Concealed tracks hide the hardware in the wall or ceiling cavity for a clean look that is perfect for minimalist and modern homes. They’re more complex to install and typically require precise framing or recessed channels, making professional installation especially helpful.
Bottom-Rolling Hardware
Bottom rollers support the door at the floor level and use guides at the top. This system is less common for most barn door styles, but it works well for extra-heavy doors or situations where overhead support is limited.
How to Install Sliding Barn Door Hardware

1. Gather Your Tools
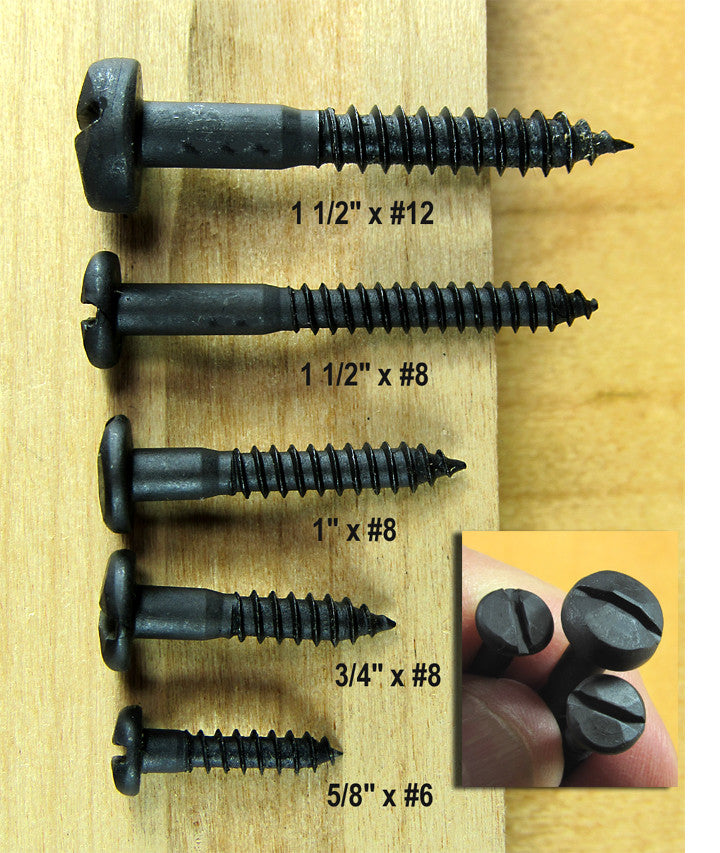
For installation, you’ll need basic tools, including:
-
Drill
-
Level
-
Stud finder
-
Screws/anchors
2. Prep and Measure
Start by measuring your doorway and door slab.
-
Door width should extend past both sides of the opening to fully cover it when closed—typically 1–2″ on each side.
-
Measure height for clearance so the door doesn’t scrape the floor.
3. Locate Studs and Install Backer Board
All sliding barn door hardware must be secured intowall studs or solid blocking, not just drywall, to safely support the door’s weight.
-
Use a stud finder to locate and mark the wall studs above the door opening.
-
If studs do align with the track holes, mount the track directly into the studs.
-
If studs don’t align, install a solid 1×4 or 1×6 backer board spanning multiple studs.
-
Secure the backer board to the studs and level it above the opening.
4. Attach the Track
-
Hold the track in place and mark the pilot hole locations.
-
Pre-drill holes and secure the track using the lag bolts or screws provided with yourhardware kit.
-
Use a level to confirm the track is perfectly horizontal before fully tightening all fasteners.
Installation Note: Proper leveling is essential to prevent the door from binding, drifting, or sliding unevenly.
5. Install Stoppers
Slide the track stoppers onto each end of the rail to keep the door from sliding off either side.
6. Mount Rollers/Hangers
-
Lay the door flat and attach the roller hangers to its top.
-
Mark attachment points, pre-drill, then secure rollers with bolts.
Installation Tip: Ensure the hanger spacing matches the track placement.
7. Hang the Door
-
With help (barn doors are heavy!), lift the door and place the rollers onto the track.
-
Slowly slide the door back and forth to confirm smooth movement.
8. Install Floor Guide
Floor or wall guides keep the bottom of the door from swinging or wobbling.
Some kits include a groove in the door bottom that fits over a floor guide; others use a small side guide.
-
Install the guide at floor level along the door’s travel path.
9. Final Adjustments
Check that all hardware is tight, the door slides easily, and stops work correctly.
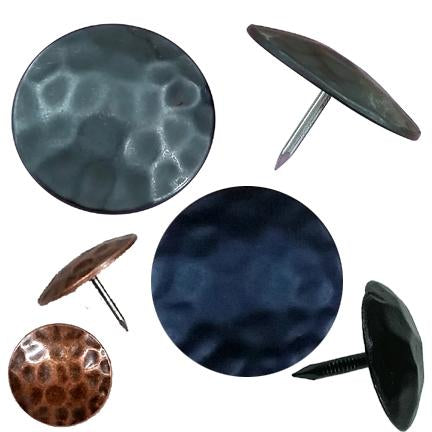
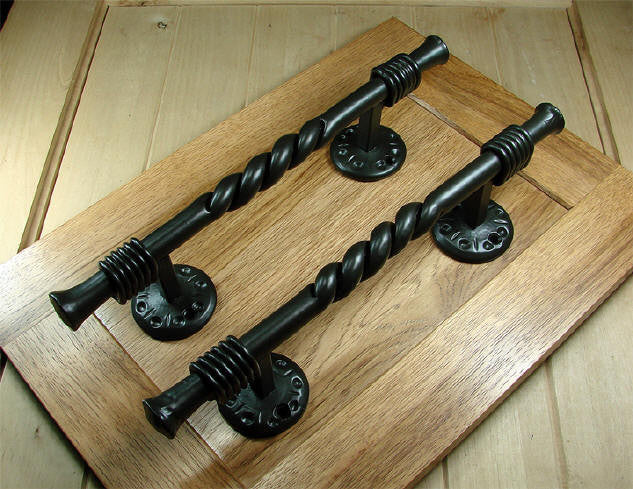
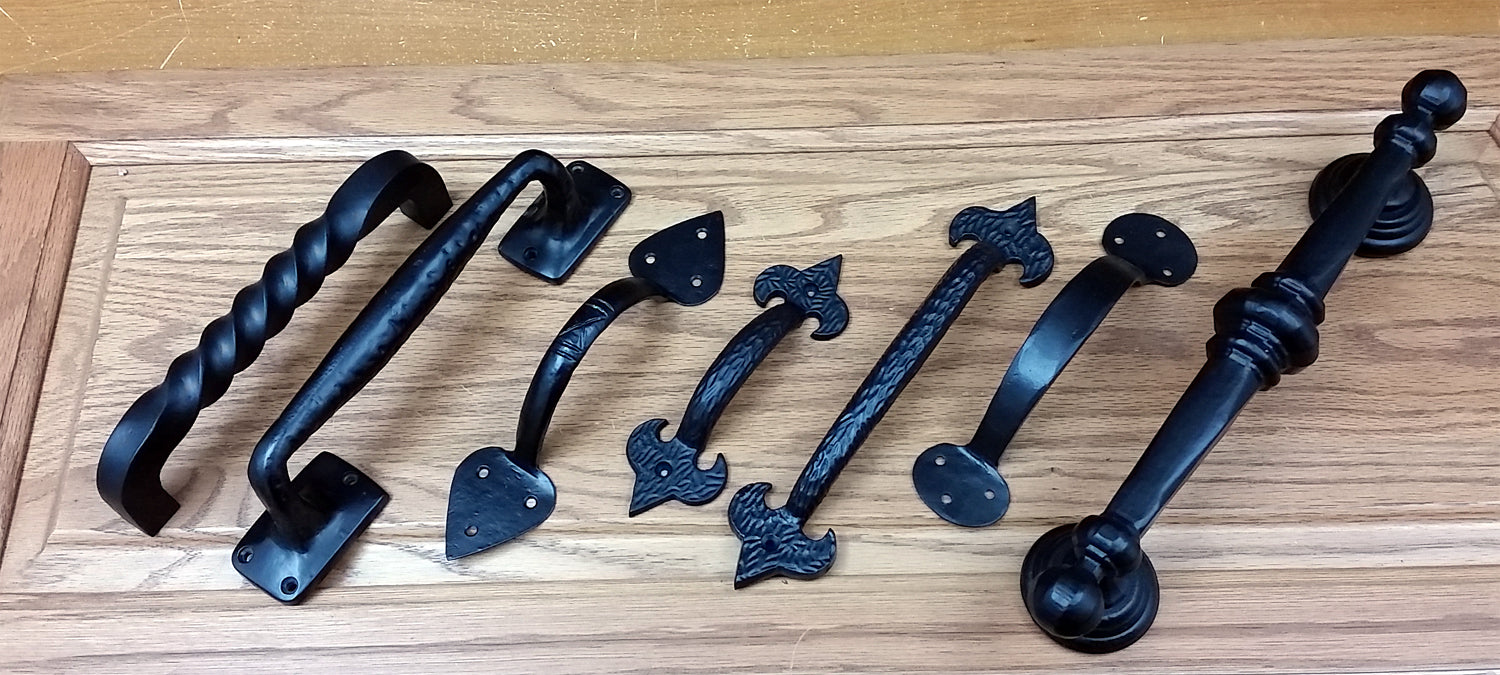
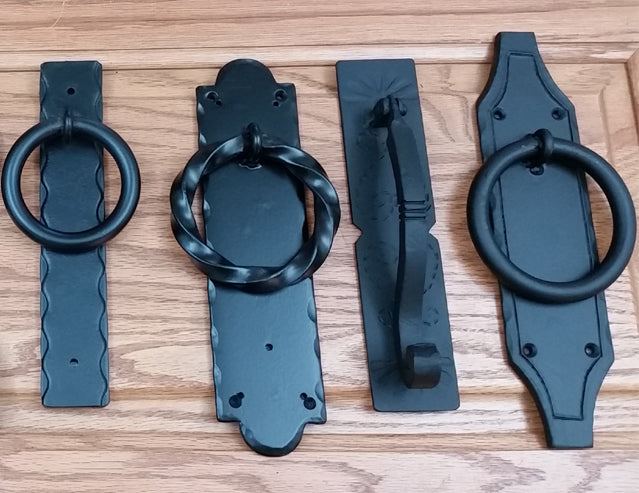
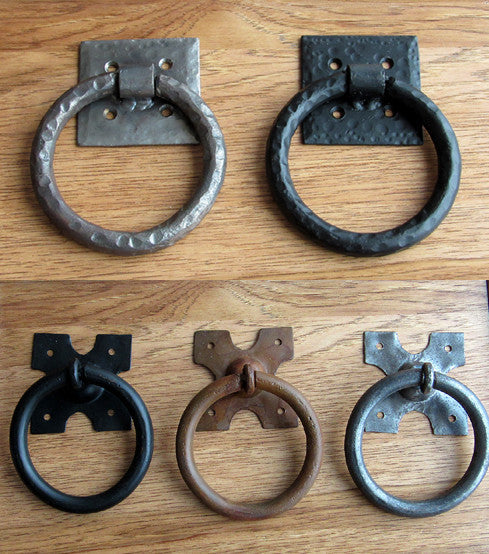
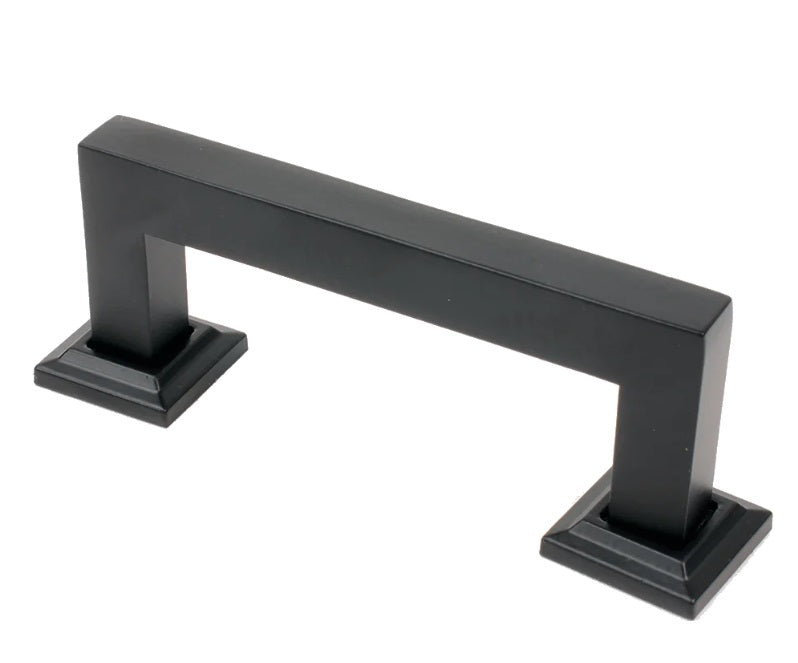
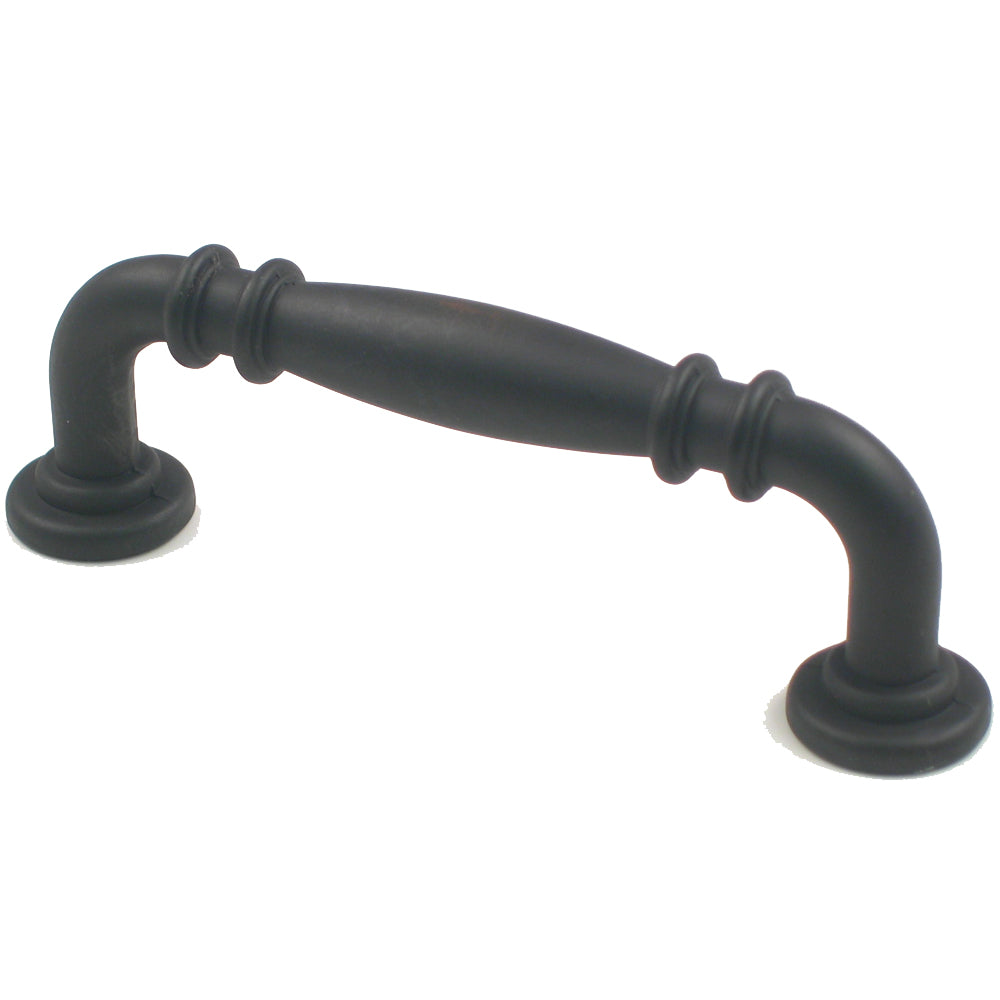
Add or adjust any decorative pulls or recessed handles as needed.
Installation is Complete
Now that you completed your DIY barn door hardware installation with expert precision, your space is perfect!
For more guidance on all things hardware, check out ourcollection of ebooks.
FAQs About Sliding Barn Doors
1. Can barn door hardware be used outside?
Yes, barn door hardware can be used outside, but only when the material is suitable for outdoor use.
Standard sliding barn door hardware is typically intended for indoor applications and may rust or deteriorate when exposed to moisture. For outdoor installation on patio doors or barn entrances, choose weather-rated, corrosion-resistant hardware and finish materials.
2. Can you turn any door into a sliding barn door?
You can usually turn any door into a sliding barn door. To do so, you need enough wall clearance beside the opening to install a track system.
Hollow-core or very heavy doors may require reinforcement or specialized hardware to support their weight. Adjusting the rough opening or adding a mounting board may also be necessary to ensure secure installation.


