


Floating shelves provideextra storage and the opportunity to customize your space with fun decor. Proper installation is essential to make the most of your shelves and ensure safety, and brackets add the extra support your shelves need for peak performance.
In this post, we provide an installation guide forfloating shelf brackets. With just eight simple steps, your shelves will be up and functioning in no time.
Floating Shelf Brackets: Pre-installation Process

Gather Tools and Materials
- Drill with appropriate drill bits
- Level
- Stud finder
- Tape measure
- Pencil
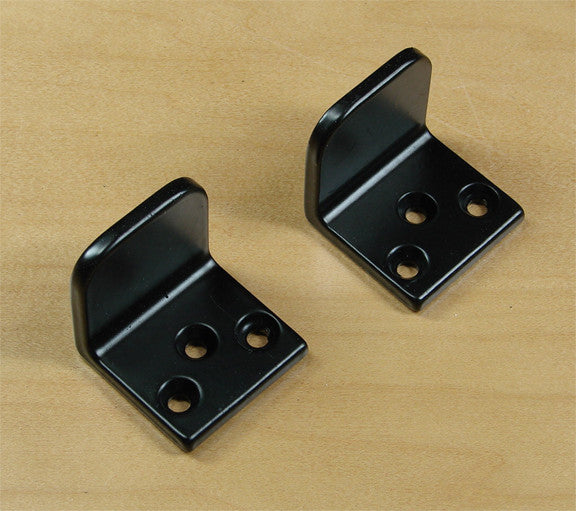
- Floating shelf brackets
- Screws and wall anchors
- Safety goggles

Install Floating Shelf Brackets in 8 Easy Steps

1.Locate the Studs. Use your stud finder tolocate and mark the studs in your wall. This is essential for safety, as the studs will keep your shelf the most secure.
Pro Tip: If your wall doesn’t have studs where you need them, you canuse wall anchors. Before purchasing, confirm that the anchors are suitable for your wall type and the weight they'll support.
2. Check for electrical wiring and plumbing. Conduct a visual inspection of where you plan to drill. Outlets, switch plates, and fixtures can indicate the paths of wires and pipes.
Pro Tip: Many stud finders can also detect electrical wiring and metal pipes. Carefully move the stud finder along the wall in the area where you plan to work. It will alert you if there are wires or pipes behind the wall.
3. Measure and Mark.Decide where you want your shelf. Then, use the tape measure and pencil to mark where the brackets will go. Refer to your level to ensure your marks are straight and even.
4. Drill the Holes. Wear safety goggles and drill holes at your marked spots. If drilling into studs, ensure yourscrews are long enough to anchor securely. If there are no studs, insert the wall anchors.
5. Secure the Brackets. Align the brackets with the holes and attach them using the screws. Make sure they're tight and secure.
6. Ensure the Brackets are Level. Once the brackets are attached, use the level to ensure they are perfectly horizontal.
7. Attach the Shelf. Place the shelf onto the brackets and ensure it sits evenly. If your shelf requires, screw it onto the brackets for additional stability.
8. Decorate Your Shelf. Now that your shelf is securely in place, it's time to decorate! Add your books, plants, or photos to personalize the space.
Final Words

There you have it: an easy-to-follow guide for installing safe, properly functioning floating shelf brackets.
For additional bracket installation support, check out our guide onhow to install decorative brackets for wooden beams!


