


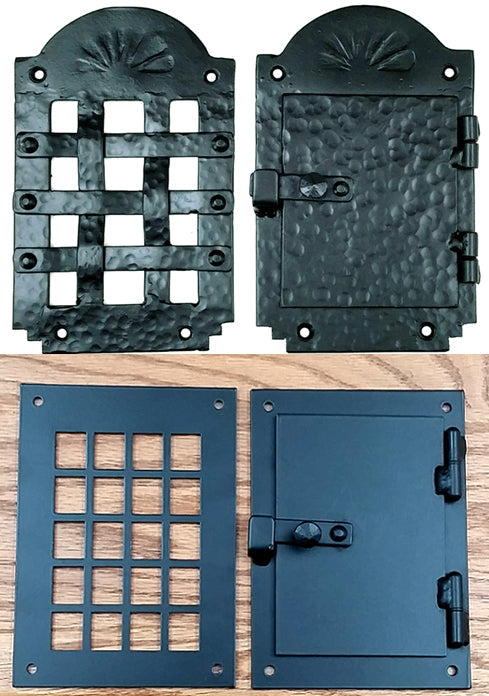


Shutters add an aesthetic appeal to your home while providing protection and privacy.
But the only way to reap the full benefits of reliably functioning shutters is through proper installation, and hinges are an especially crucial part of this process.
Fortunately, installing hinges is a simple DIY project, and our step-by-step guide for how toinstall shutter hinges will have your shutters set up and working well in no time.

Pre-installation Considerations
There are a few factors to consider before you purchase your shutter hinges and begin installation.
1. Decide on Shutter Type
Your choice will depend on whether your shutters:
- Close into the window opening.
- Cover the window opening.
A quarter-inch gap around each side of the shutter is necessary for shutters thatclose into the window opening.
A minimum of a half inch of overhang is needed for shutters thatcover the window opening.
All shutter types require a quarter-inch gap for optimal functionality when closed.
2. Identify Potential Obstructions
Common obstructions of window openings include storm windows, exterior screens, or old hardware.
If there are obstructions, shutters that cover the window opening entirely will be the better option.
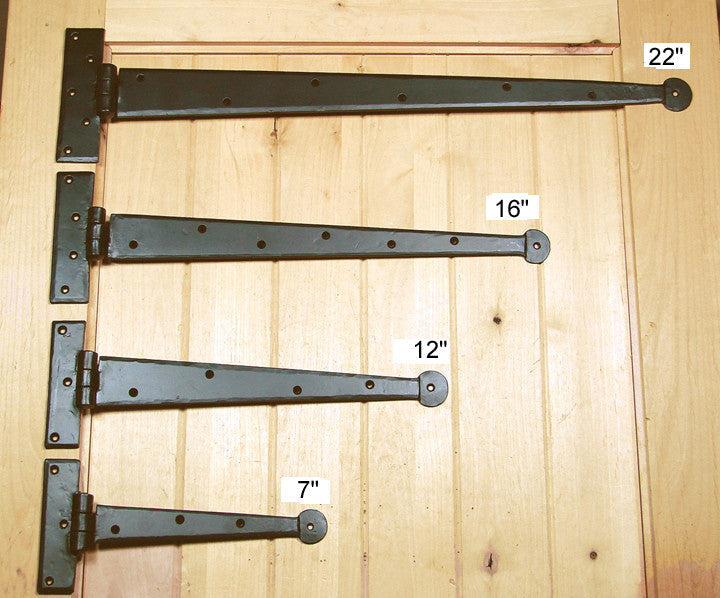
3. Measure Your Shutter Hinges
Correct measurements are key to ensuring your shutters fit perfectly and operate smoothly.
- Fully open the hinge and measure the entire width.
- If working with offset hinges, measure from the hinge plate to the pivot point.
- To determine the throw, measure how far the front of the shutter moves upon opening.
How to Install Shutter Hinges
Tools Needed
- Shims
- Painter's tape
- A pencil
- A level or measuring tape
- A drill
- Screws
Positioning the Shutters
- Start by closing the shutters.
- Then, hold them in place with shims and painter's tape.
- Ensure the gap or overhang is even all around the shutter.
Assembling and Mounting the Hinges
- Assemble the hinge and pintle. Tape them if necessary.
- Place the hinge and pintle on the shutter.
- Mark the hole placement with a pencil.
- Align multiple pintles using a level or measuring tape.
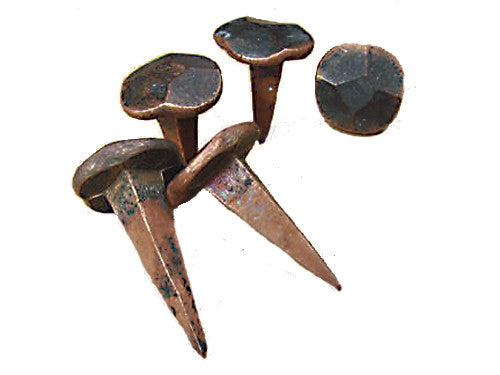
- Drill pilot holes to prevent the wood from splitting
- Screw the hinge and pintle in place. Avoid over-tightening or drilling too deep.
Pro Tip:
If mounting the pintle on brick or stone, consider using a lag pintle with a shield anchor.


Always drill a hole for the anchor before installing the lag or screws.
Selecting the Right Shutter Hardware
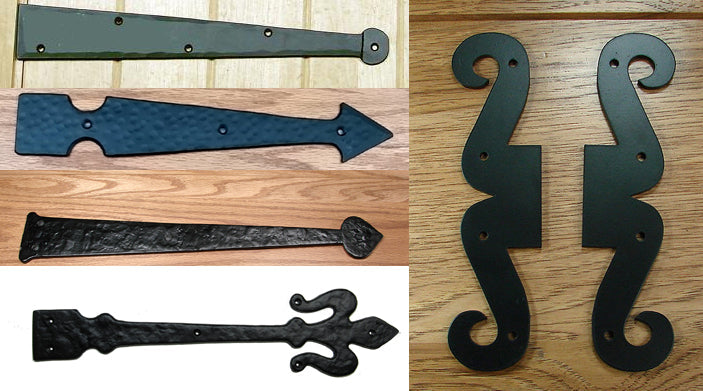
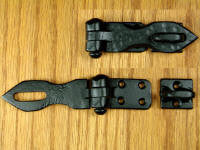
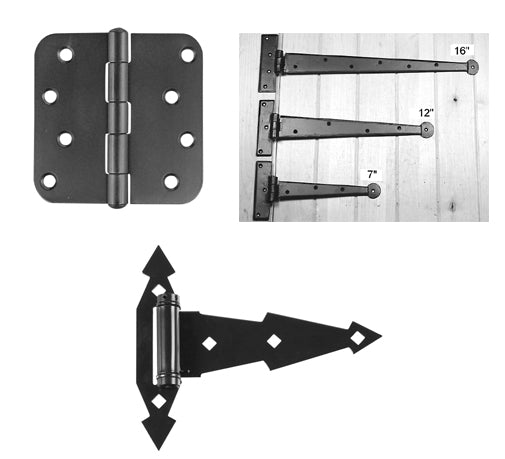
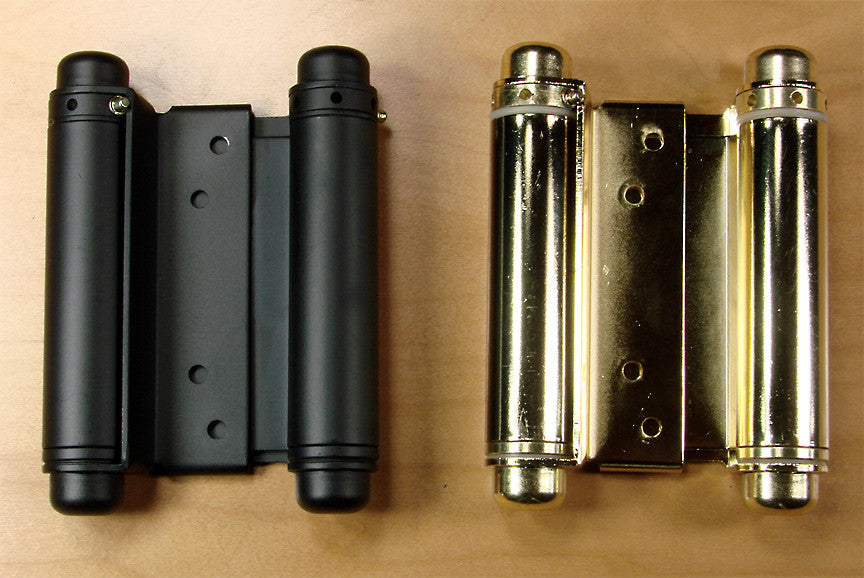
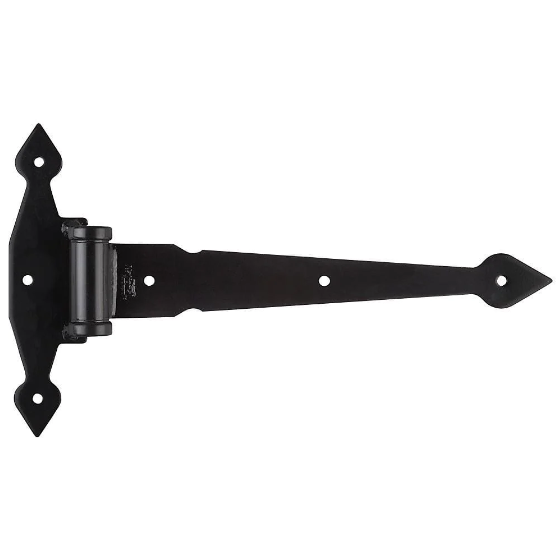
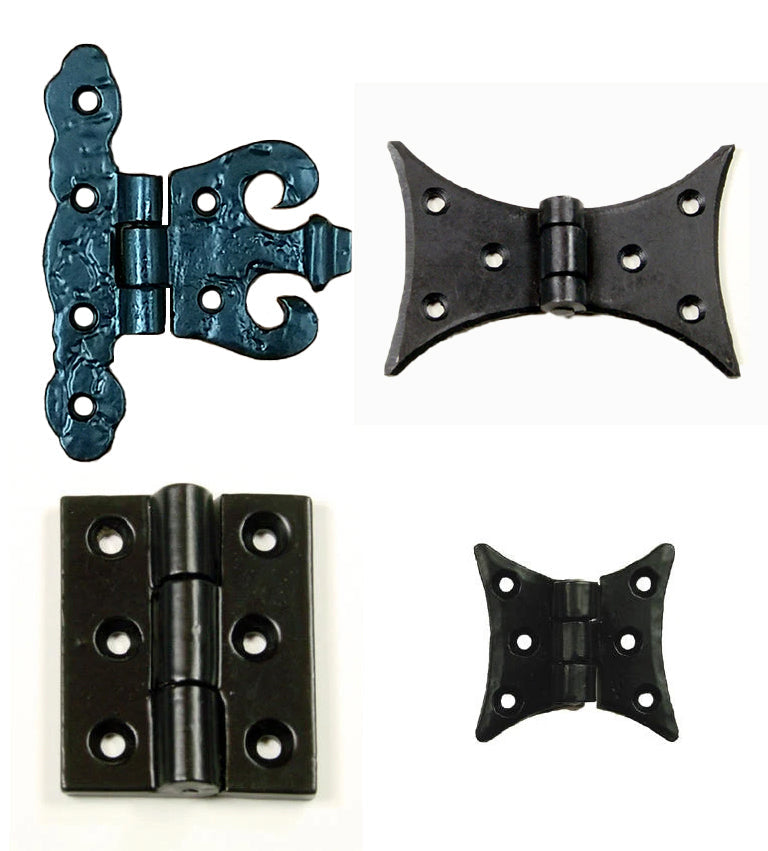
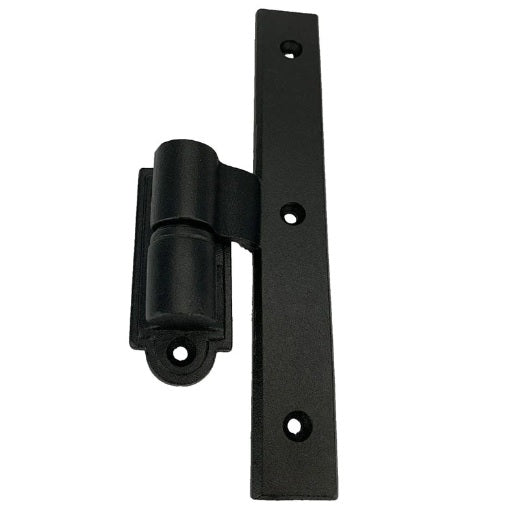
Understanding Hinge Types
The placement of your shutters determines where the hinges and pintles will be mounted.
Depending on the trim inside the window opening, you might opt for:


To mount strap hinges and L-style hinges, close the shutters and install them on the front.
The Importance of Throw and Offset
Offset and throw are vital in ensuring your shutters open and close seamlessly.
- Offset refers to the curve in the hinge that shifts the pivot point away from the shutter.
- Throw is the distance the shutter face moves when opened.
For shutters closing into a window opening, offset hinges are often required to avoid damaging the window trim.
Offset hinges also create a gap behind the open shutter to provide air circulation. This keeps your shutters free of mold.
Tips for Modern Installations
In many contemporary homes, storm windows or limited depth often require shutters that cover the window opening instead of closing into it.
For these installations, a hinge with minimal offset is best.
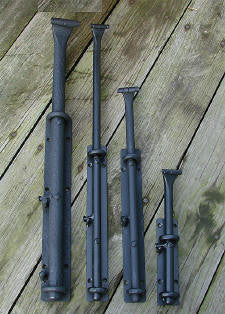
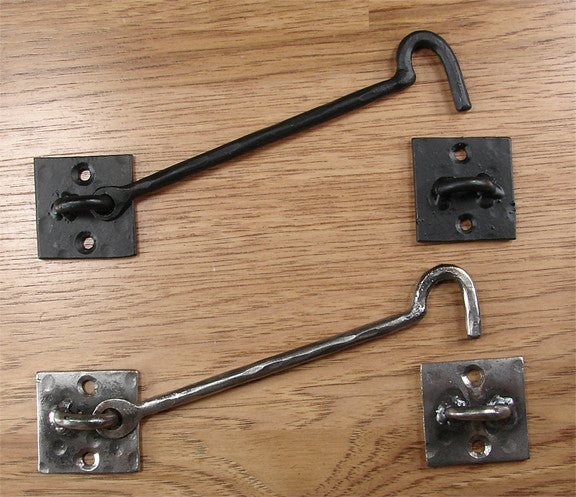
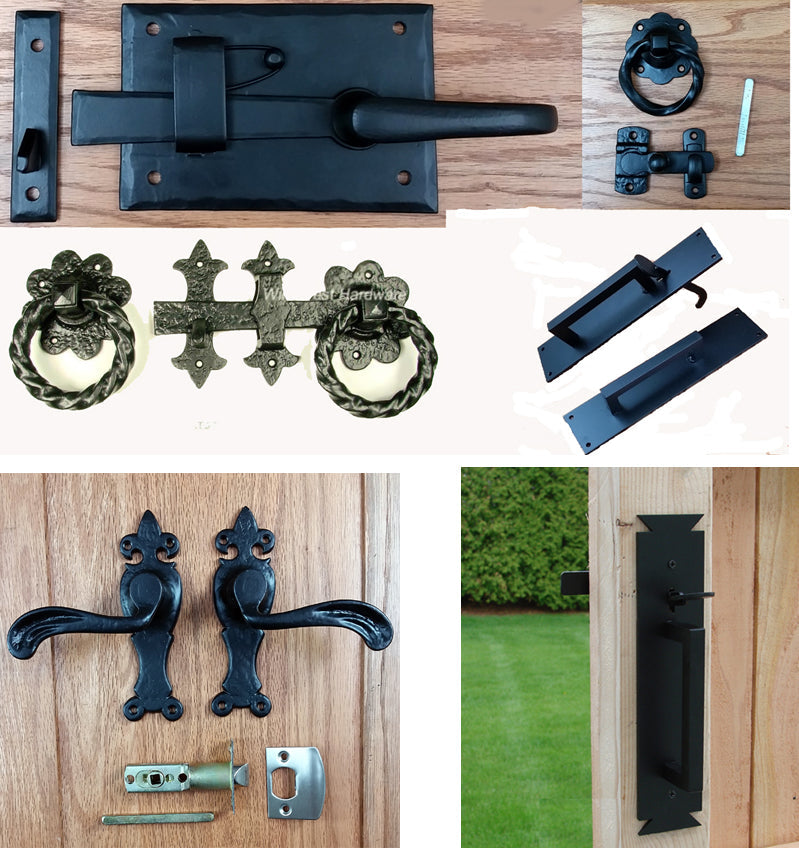
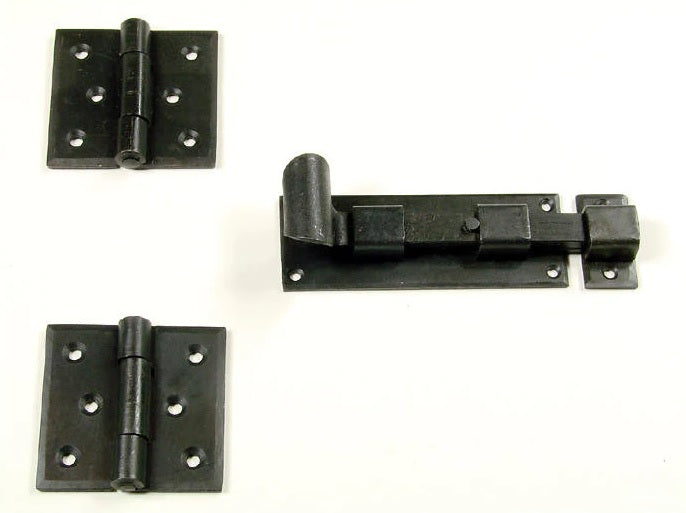
Selecting the Right Shutter Accessories
Accessories can be installed onto your shutters for additional visual appeal and ease of use.
-
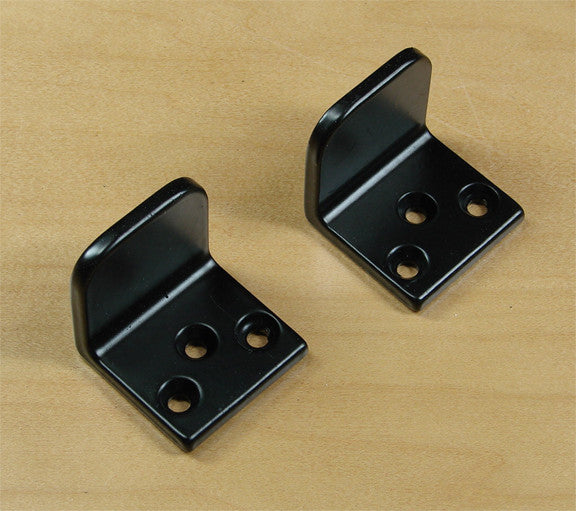
Shutter dogs are installed on the outer bottom corner when a shutter is fully open. These are an aesthetic hardware option for keeping your shutters from snapping shut with the wind.

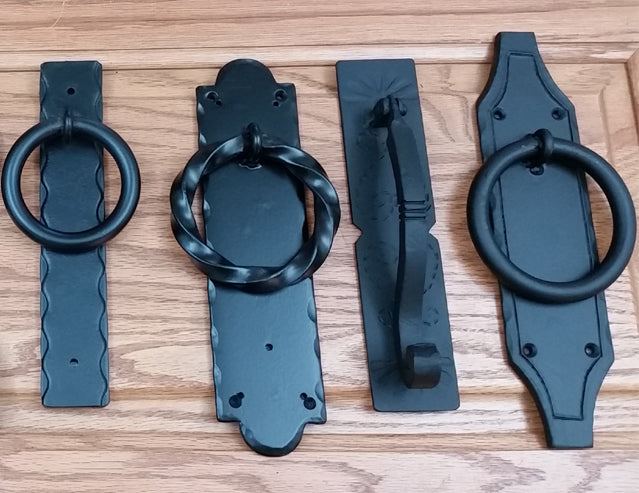
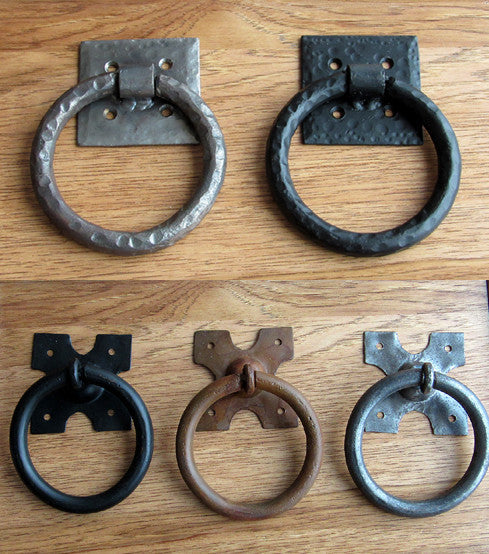
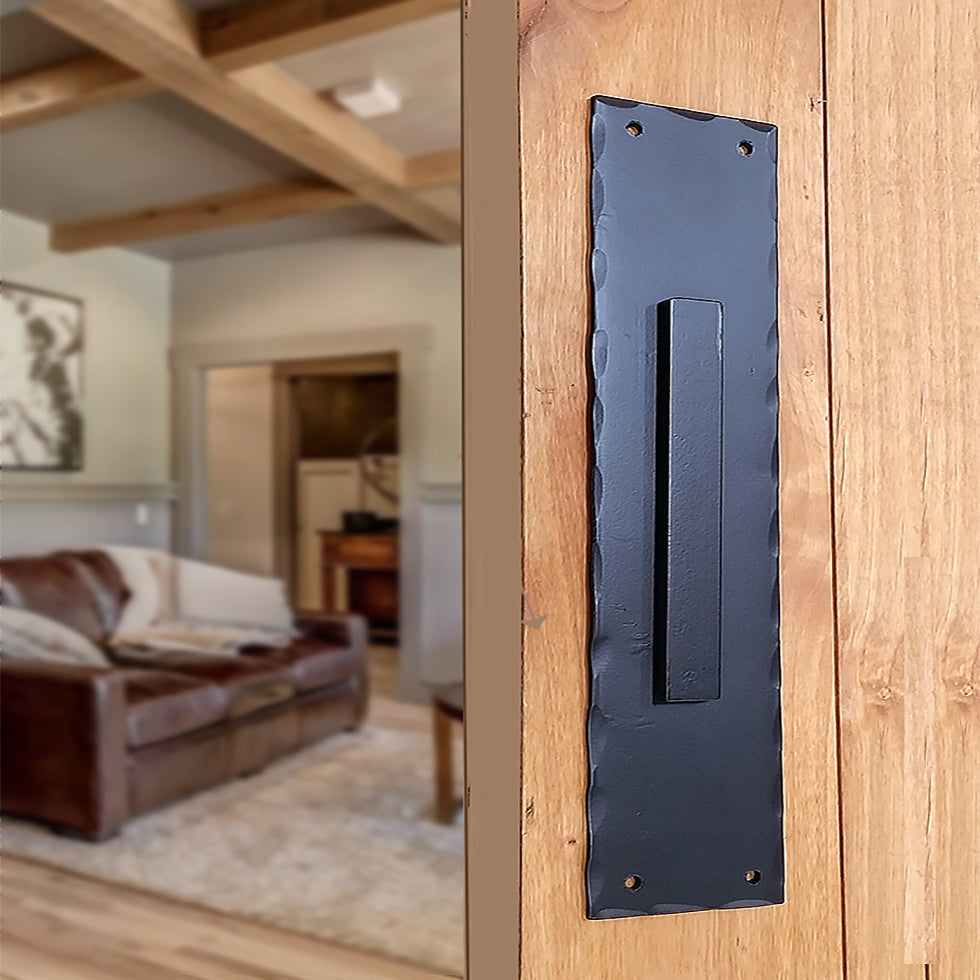
-
Ring pulls are centered and installed on the bottom half of the back of a shutter. These make it easy to close the shutter from inside your home.

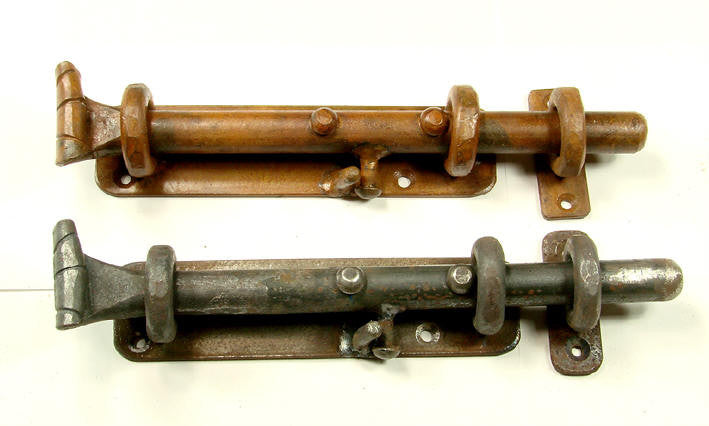
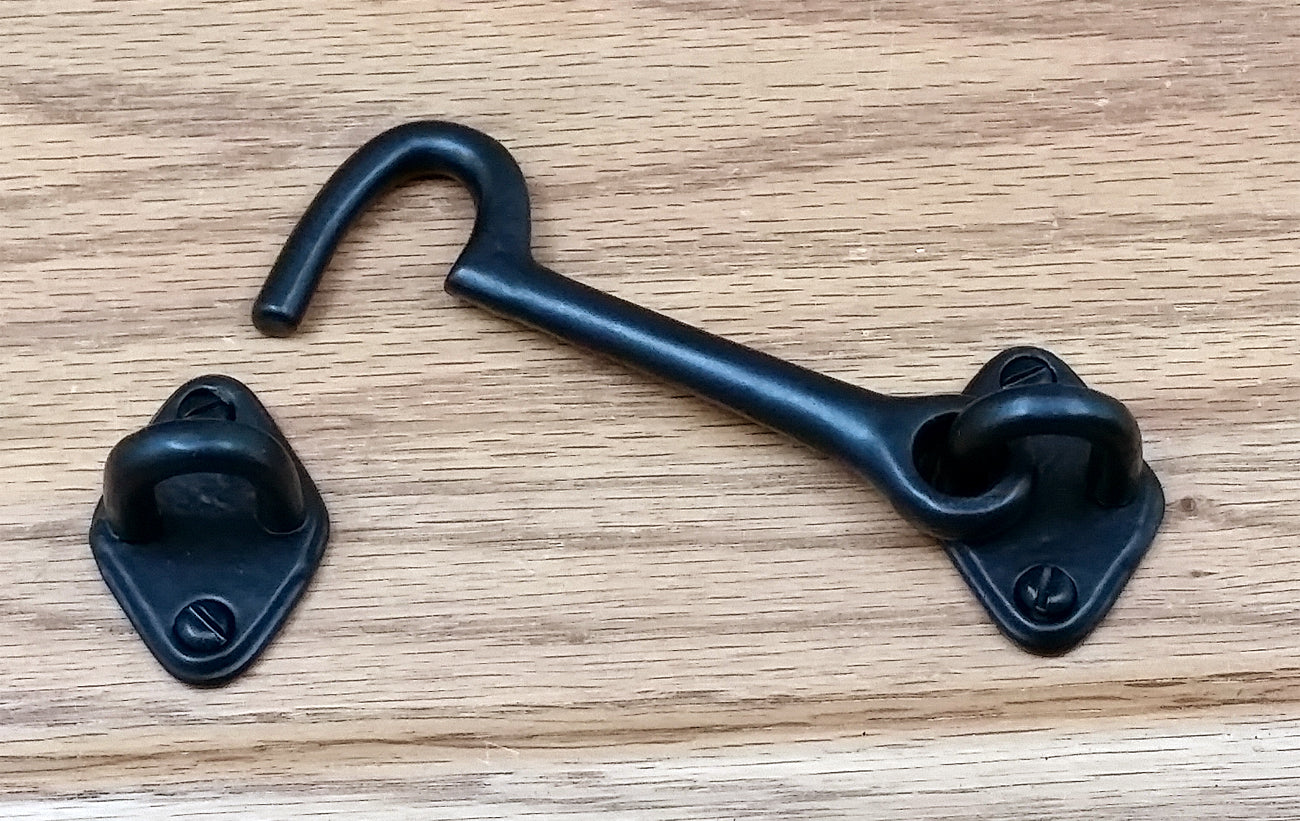
-
Slide bolts are typically mounted on the lower half of the back of shutters. They provide added security and protection from wind.

Final Words
The process might seem daunting, but learning how to install shutter hinges is a breeze with the proper guidance and tools.
Shop Wild West Hardware for all your shutter hardware needs, and you're set to give your home that elegant finish with perfectly hinged shutters.
FAQs
1. How many hinges do I need for my shutters?
Small to medium shutters typically require two hinges, while taller and heavier ones need three.
2. Can I install shutters by myself?
You can install shutters yourself without the help of a professional.
However,while installing shutters solo is possible, having an extra pair of hands makes the process smoother. So, team up with someone.


