


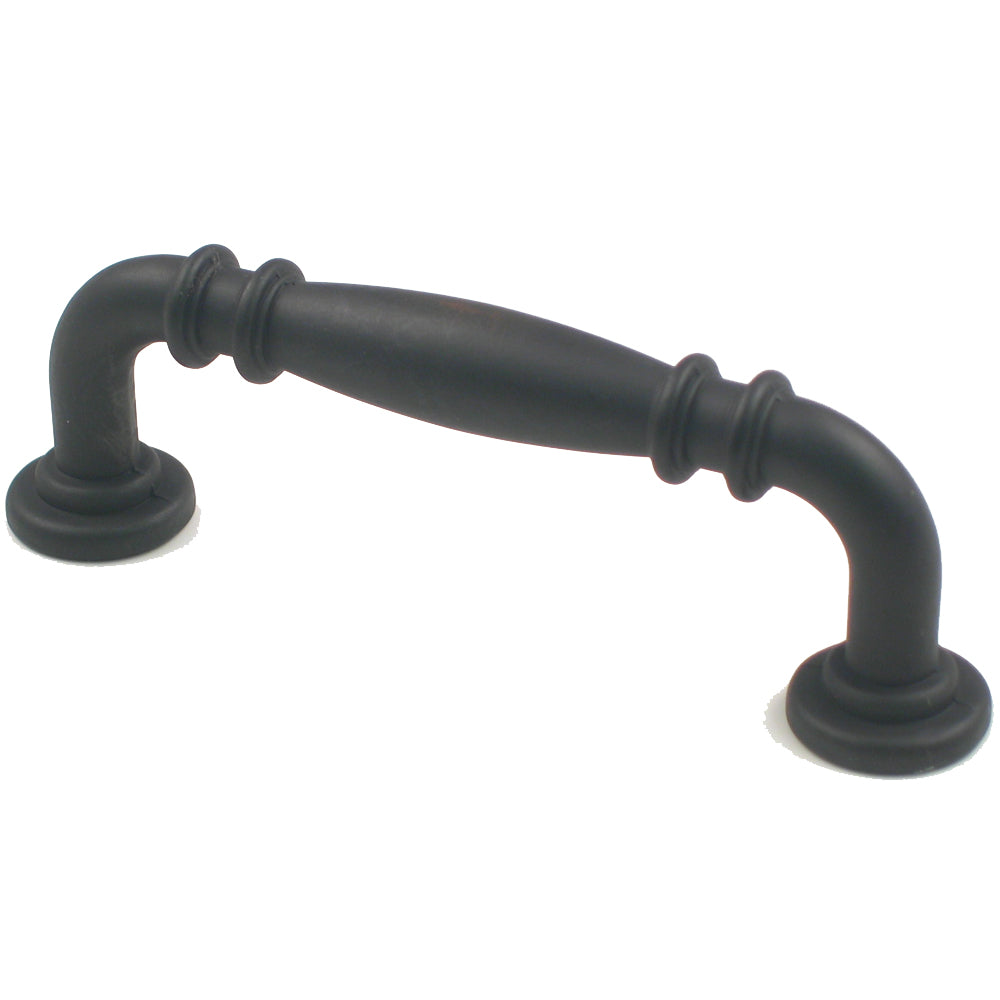


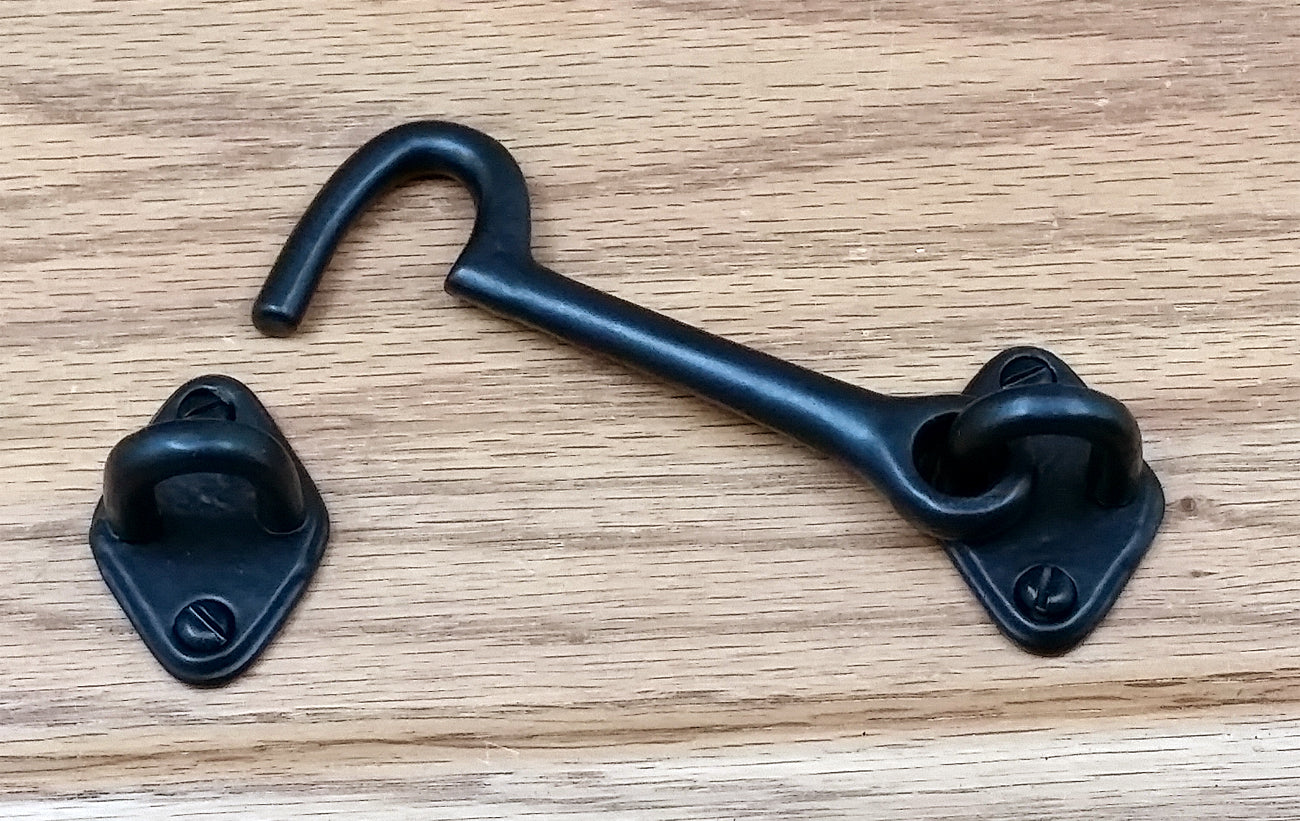


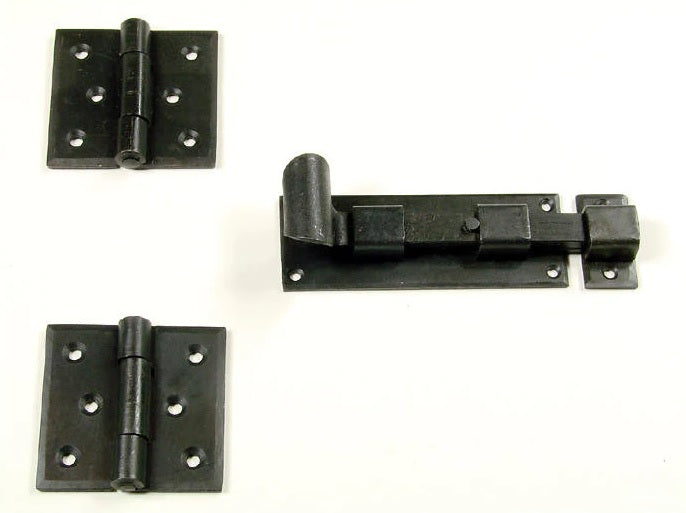


Homeowners know how expensive home repairs can be, so ensuring every element of your home is protected is essential—even your gates. Gate stops prevent full-force swinging that can damagegate locks,latches, and hooks. While this hardware may seem too small to be significant, it helps uphold the safety and maintain your home's curb appeal.
In this guide, we explore factors to consider when choosing yourgate stop and how to properly install them in five easy steps.
Considerations for Choosing the Right Gate Stop

Before starting the installation process, you have to determine the best gate stop for your gate. Consider the following factors when making your choice.
-
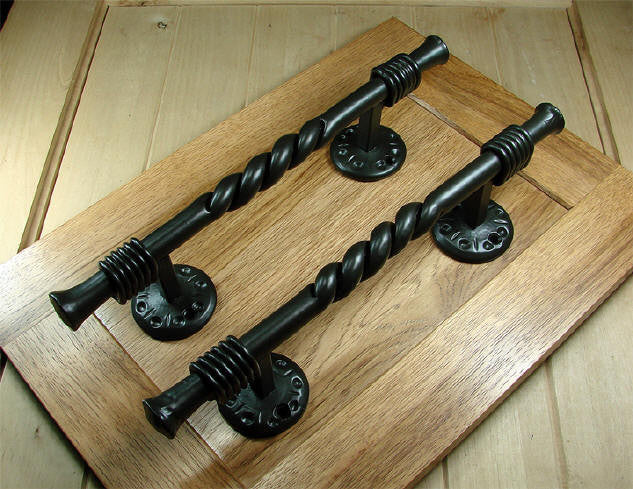
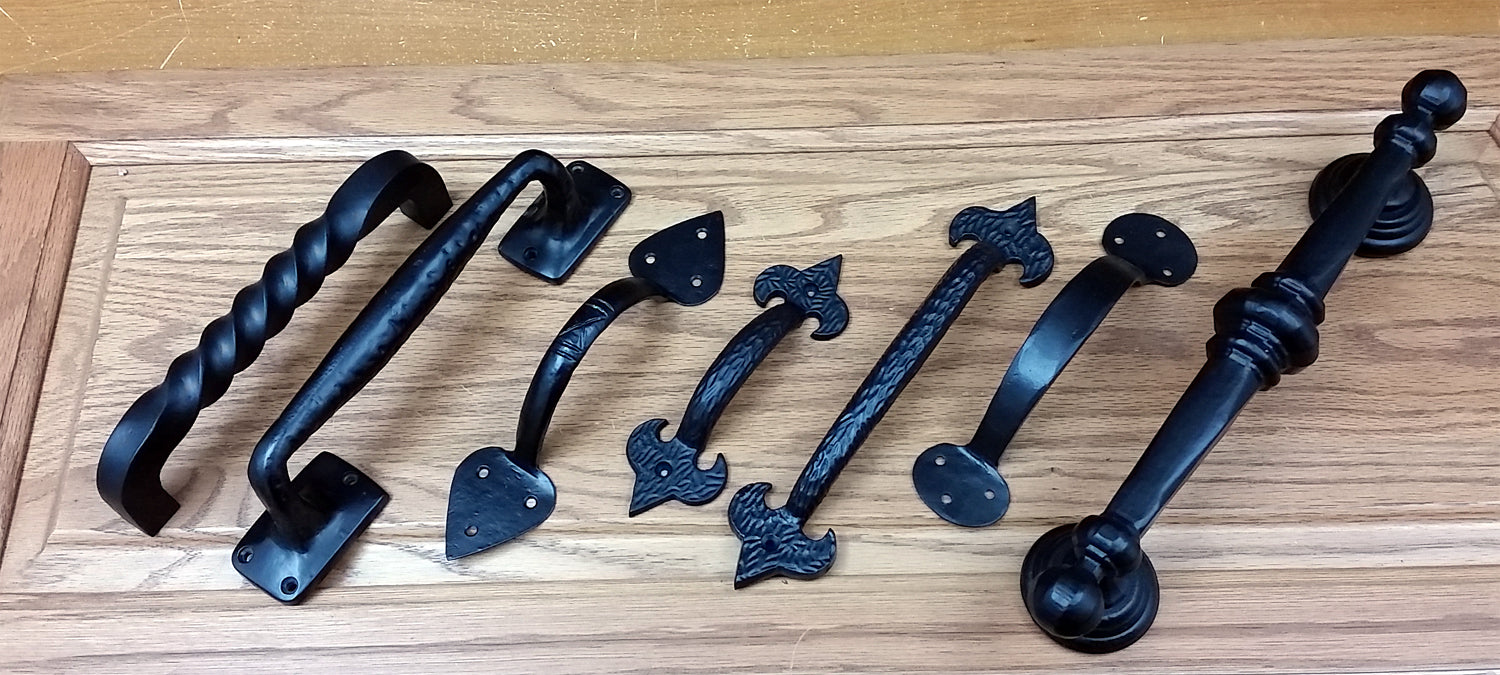
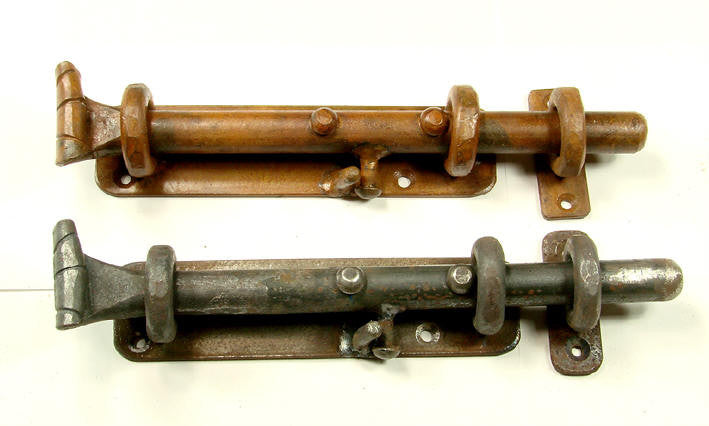
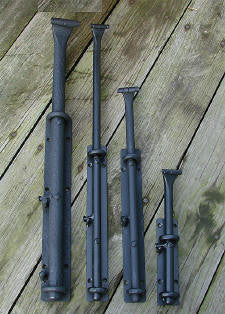
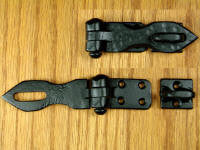
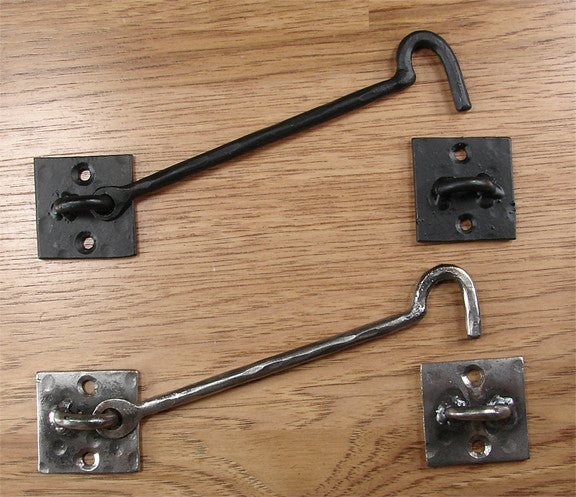
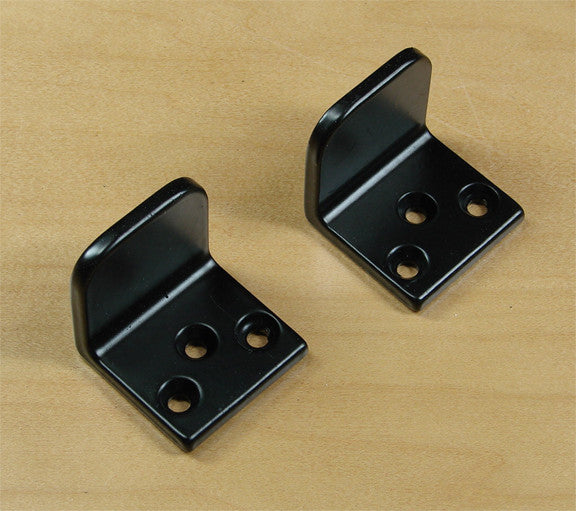
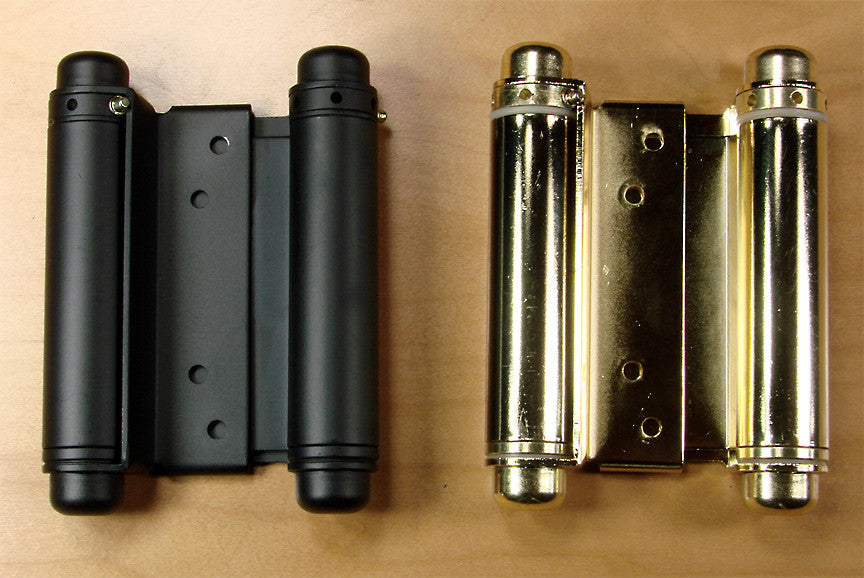
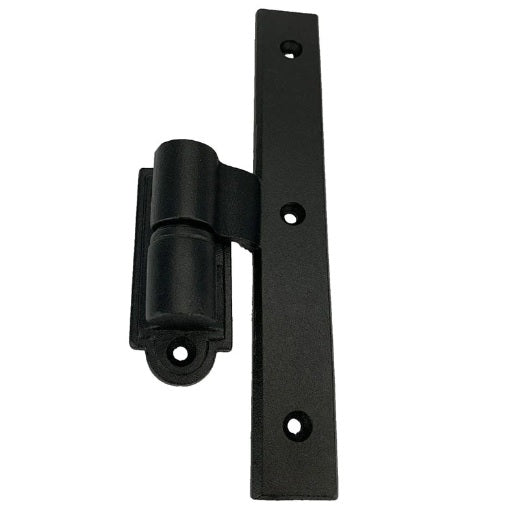
Gate Weight and Gate Stop Material. Your gate's weight and size are key indicators of the material your gate stop needs to be.Metal gate stops offer the heavy-duty strength required for larger or heavier gates.Rubber gate stops provide shock absorption, making them another reliable option for these types of gates. For smaller gates and a more cost-effective solution, plastic gate stops are a good choice.


Metal Gate Stops Rubber Gate Stops - Type of Mount. Decide whether you need a ground-mounted or gate-mounted stop. Ground-mounted stops are suitable for larger, heavier gates as they provide more resistance at the ground level. Gate-mounted stops are the best choice for small to medium-sized gates and an easier-to-install option.
- Swing Surface. Consider the surface over which the gate swings. If your gate swings over a hard surface, like concrete, a gate stop with rubber or another soft material can reduce impact. A more rigid gate stop is more effective for softer surfaces like grass.
Install a Gate Stop in 5 Simple Steps

Step 1: Gather Your Tools
To install a gate stop, you will need the following tools:
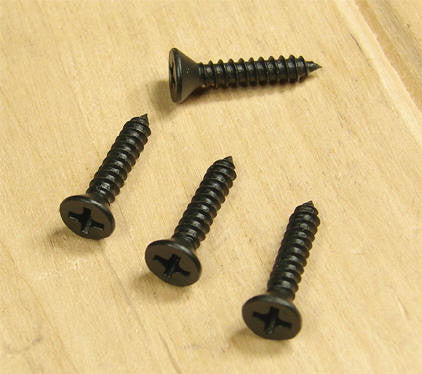
- Gate stop
- Drill
- Drill bits
- Screws
- Screwdriver
- Measuring tape
- Pencil or marker
Step 2: Decide on Installation Location
Use your measuring tape to determine the optimal point where the gate stop should be installed. This is typically where the gate would naturally stop swinging. Mark this point with your pencil or marker.
Pro tip: The placement might vary based on whether you choose a ground or gate-mounted stop.
Step 3: Prepare the Area
For aground-mounted gate stop, ensure the ground is level and debris-free.
For agate-mounted stop, make sure the gate is in good condition. This meanswooden gates should have a flat surface and be free of rot, and metal gates should be rust-free.
Step 4: Mount the Gate Stop

Drill screw holes into your marked points. Then, use your screwdriver to fasten the gate stop. Check the alignment before tightening the screws fully.
Pro tip: Make sure your drill bit matches the size of your screws. Otherwise, you might damage your gate or the ground.
Step 5: Test the Gate Stop
Once installed, gently swing the gate to ensure the stop effectively prevents it from swinging too far. Additional adjustments can be made as needed for proper functioning.
Final Words
Now that you know what to look for, you are ready topurchase your gate stop! Once your newgate hardware arrives, refer to this quick guide for simple installation.
If you have more questions about options or installation,contact Wild West Hardware. Our team of experts is happy to help.


